ATC

Abandon the Cube

Tag DIY headboard

Bedroom Redesign

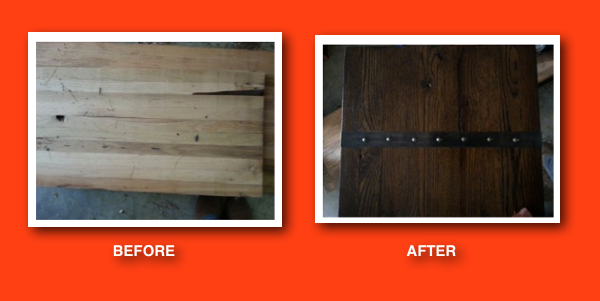
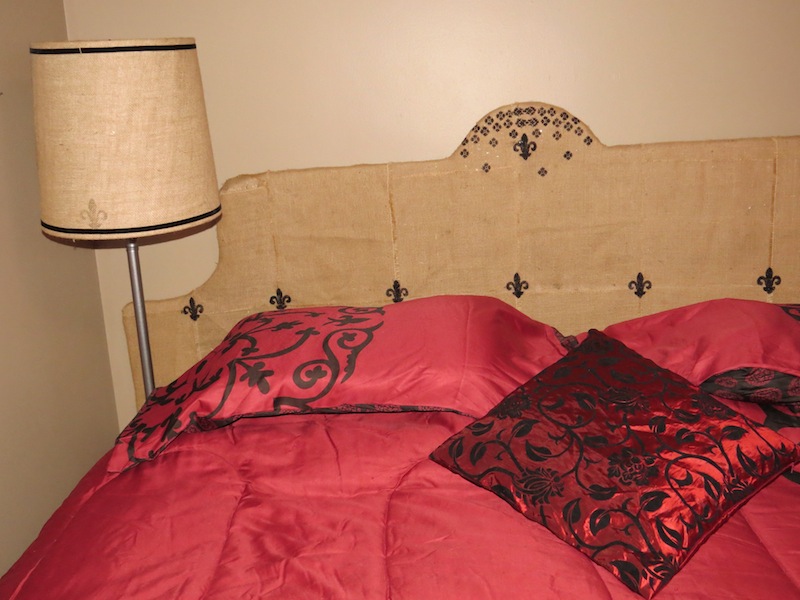
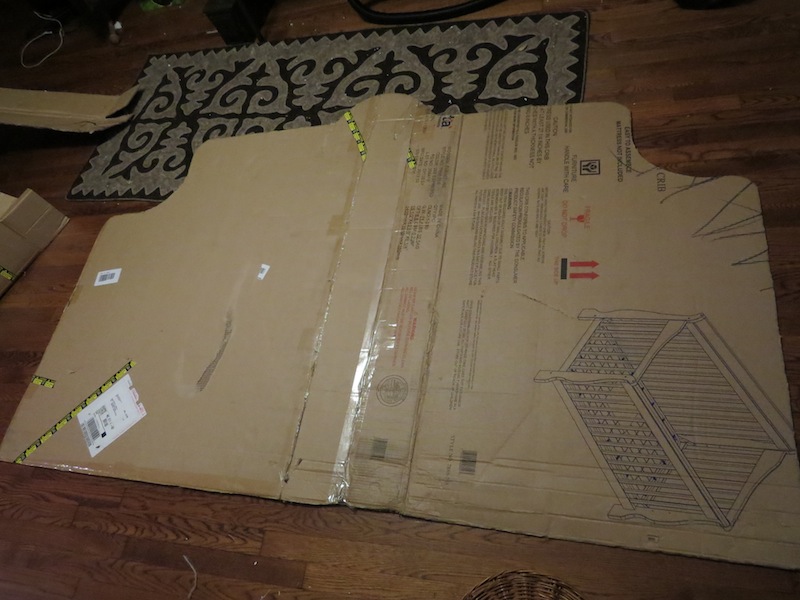
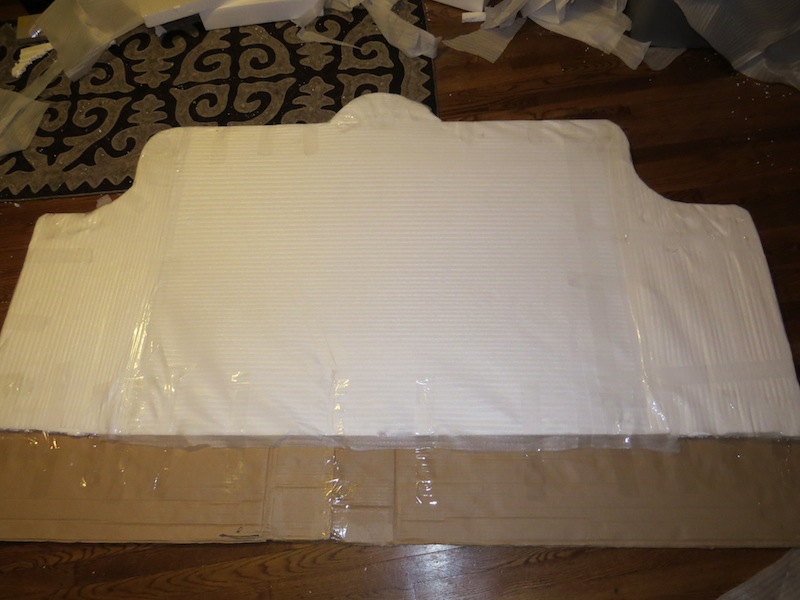
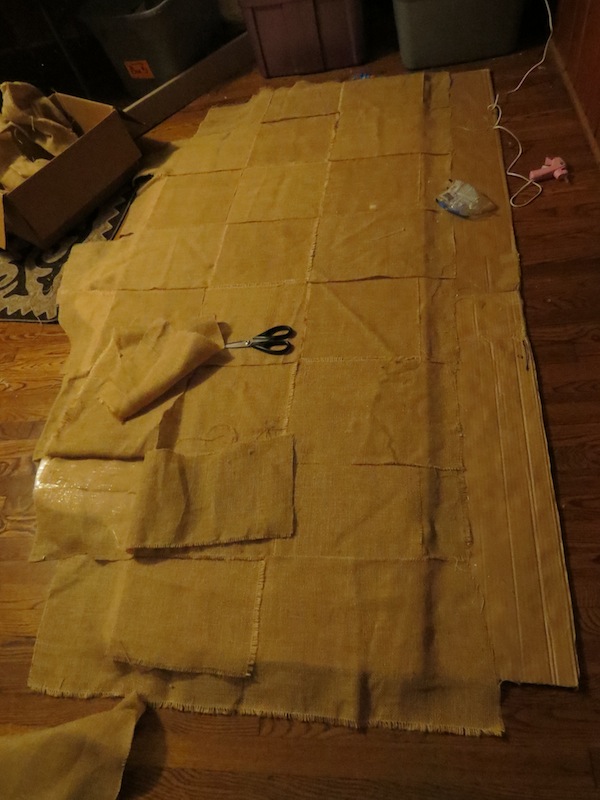
Well I crapped out and didn’t take a BEFORE photo because it was too embarrassing. But below is a picture from a few months ago when I was building this burlap headboard. It smelled and I had to get rid of it. Also, it was made of cardboard and was a bad idea. So was that bedspread. Barf. Anyways, here was the before:

Screen Shot 2014-05-16 at 1.02.18 PM

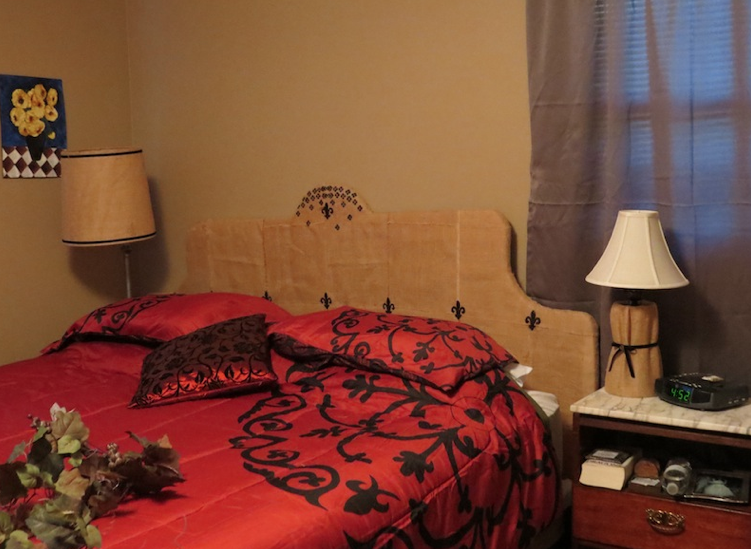
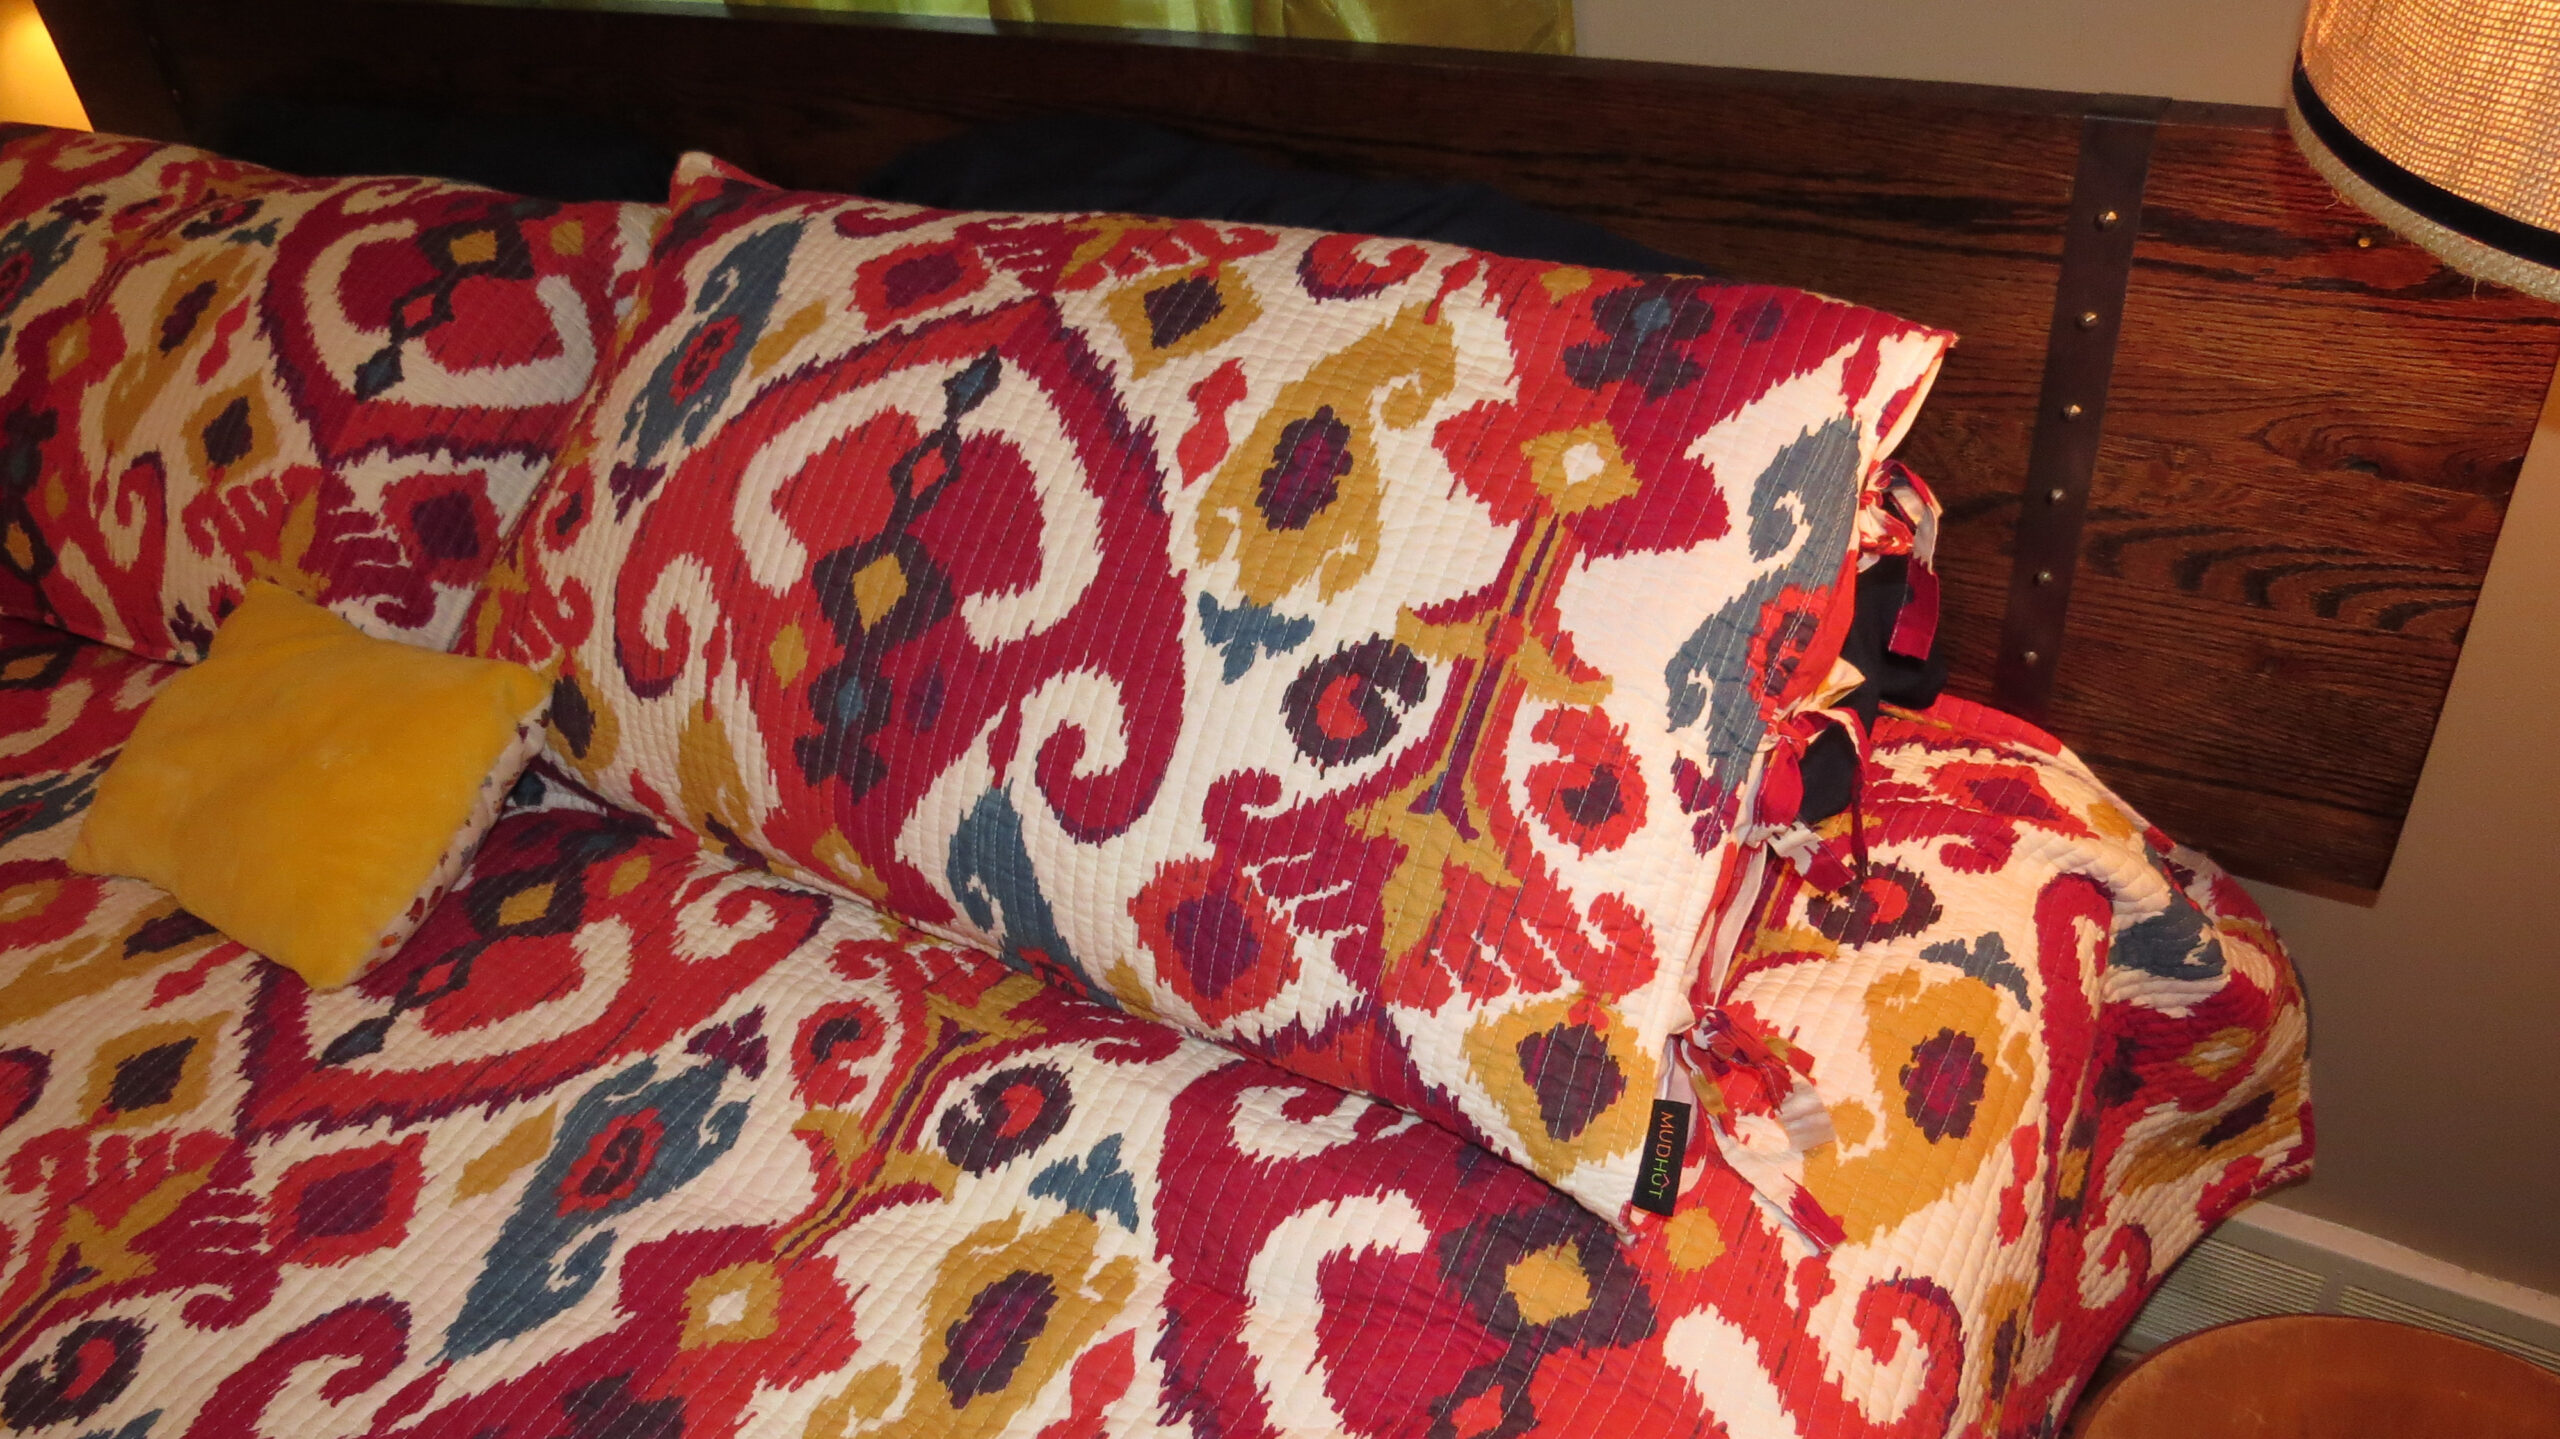
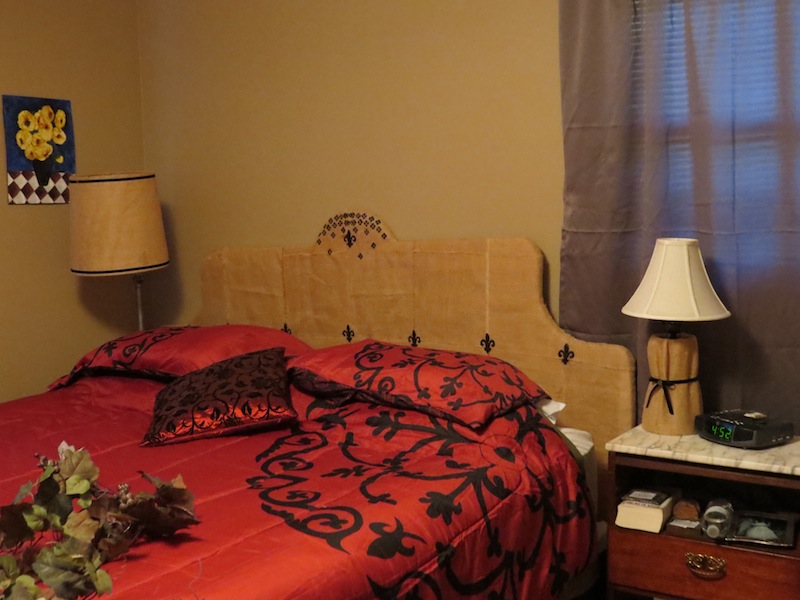
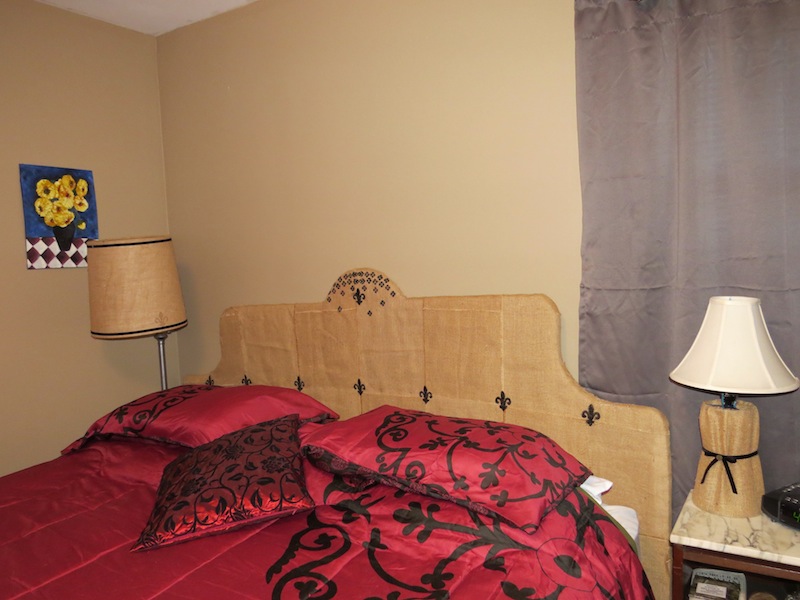
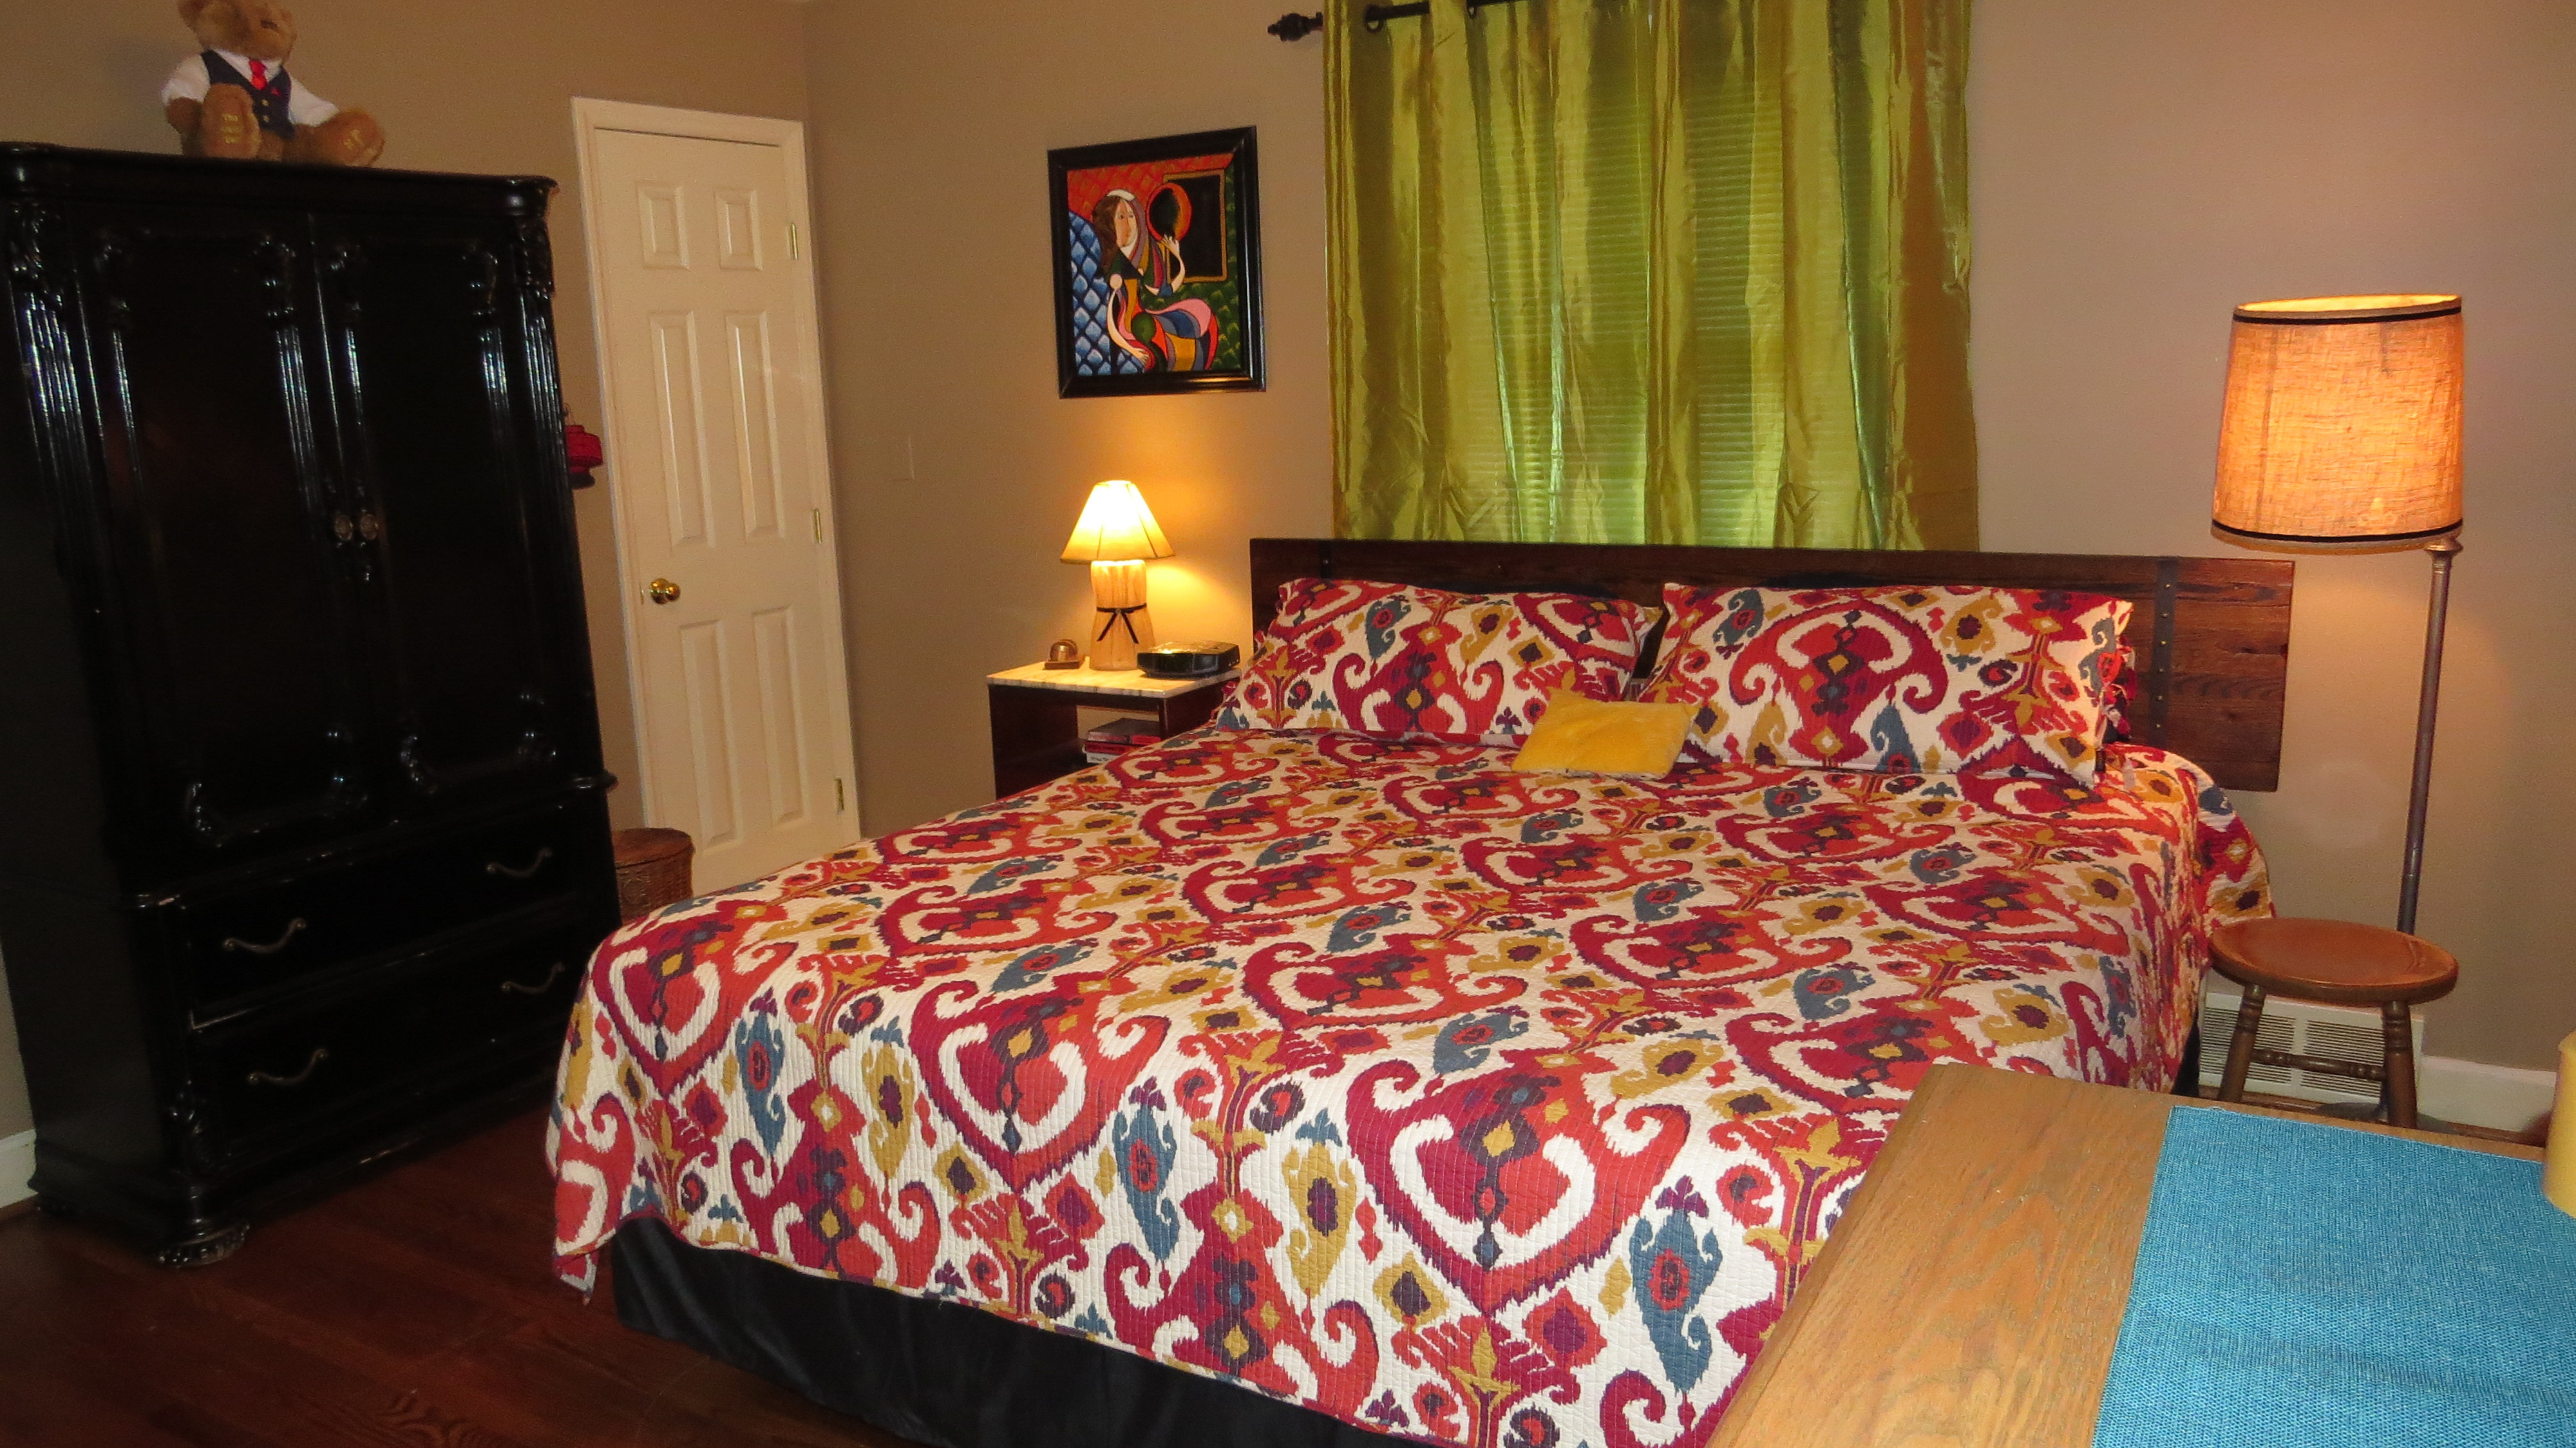
I will make this quick and show you what my room looks like now. Imagine the before as a condor pooping from on high and that ball of poo splattering all over four walls. That was my room. Here it is now:

IMG_6865

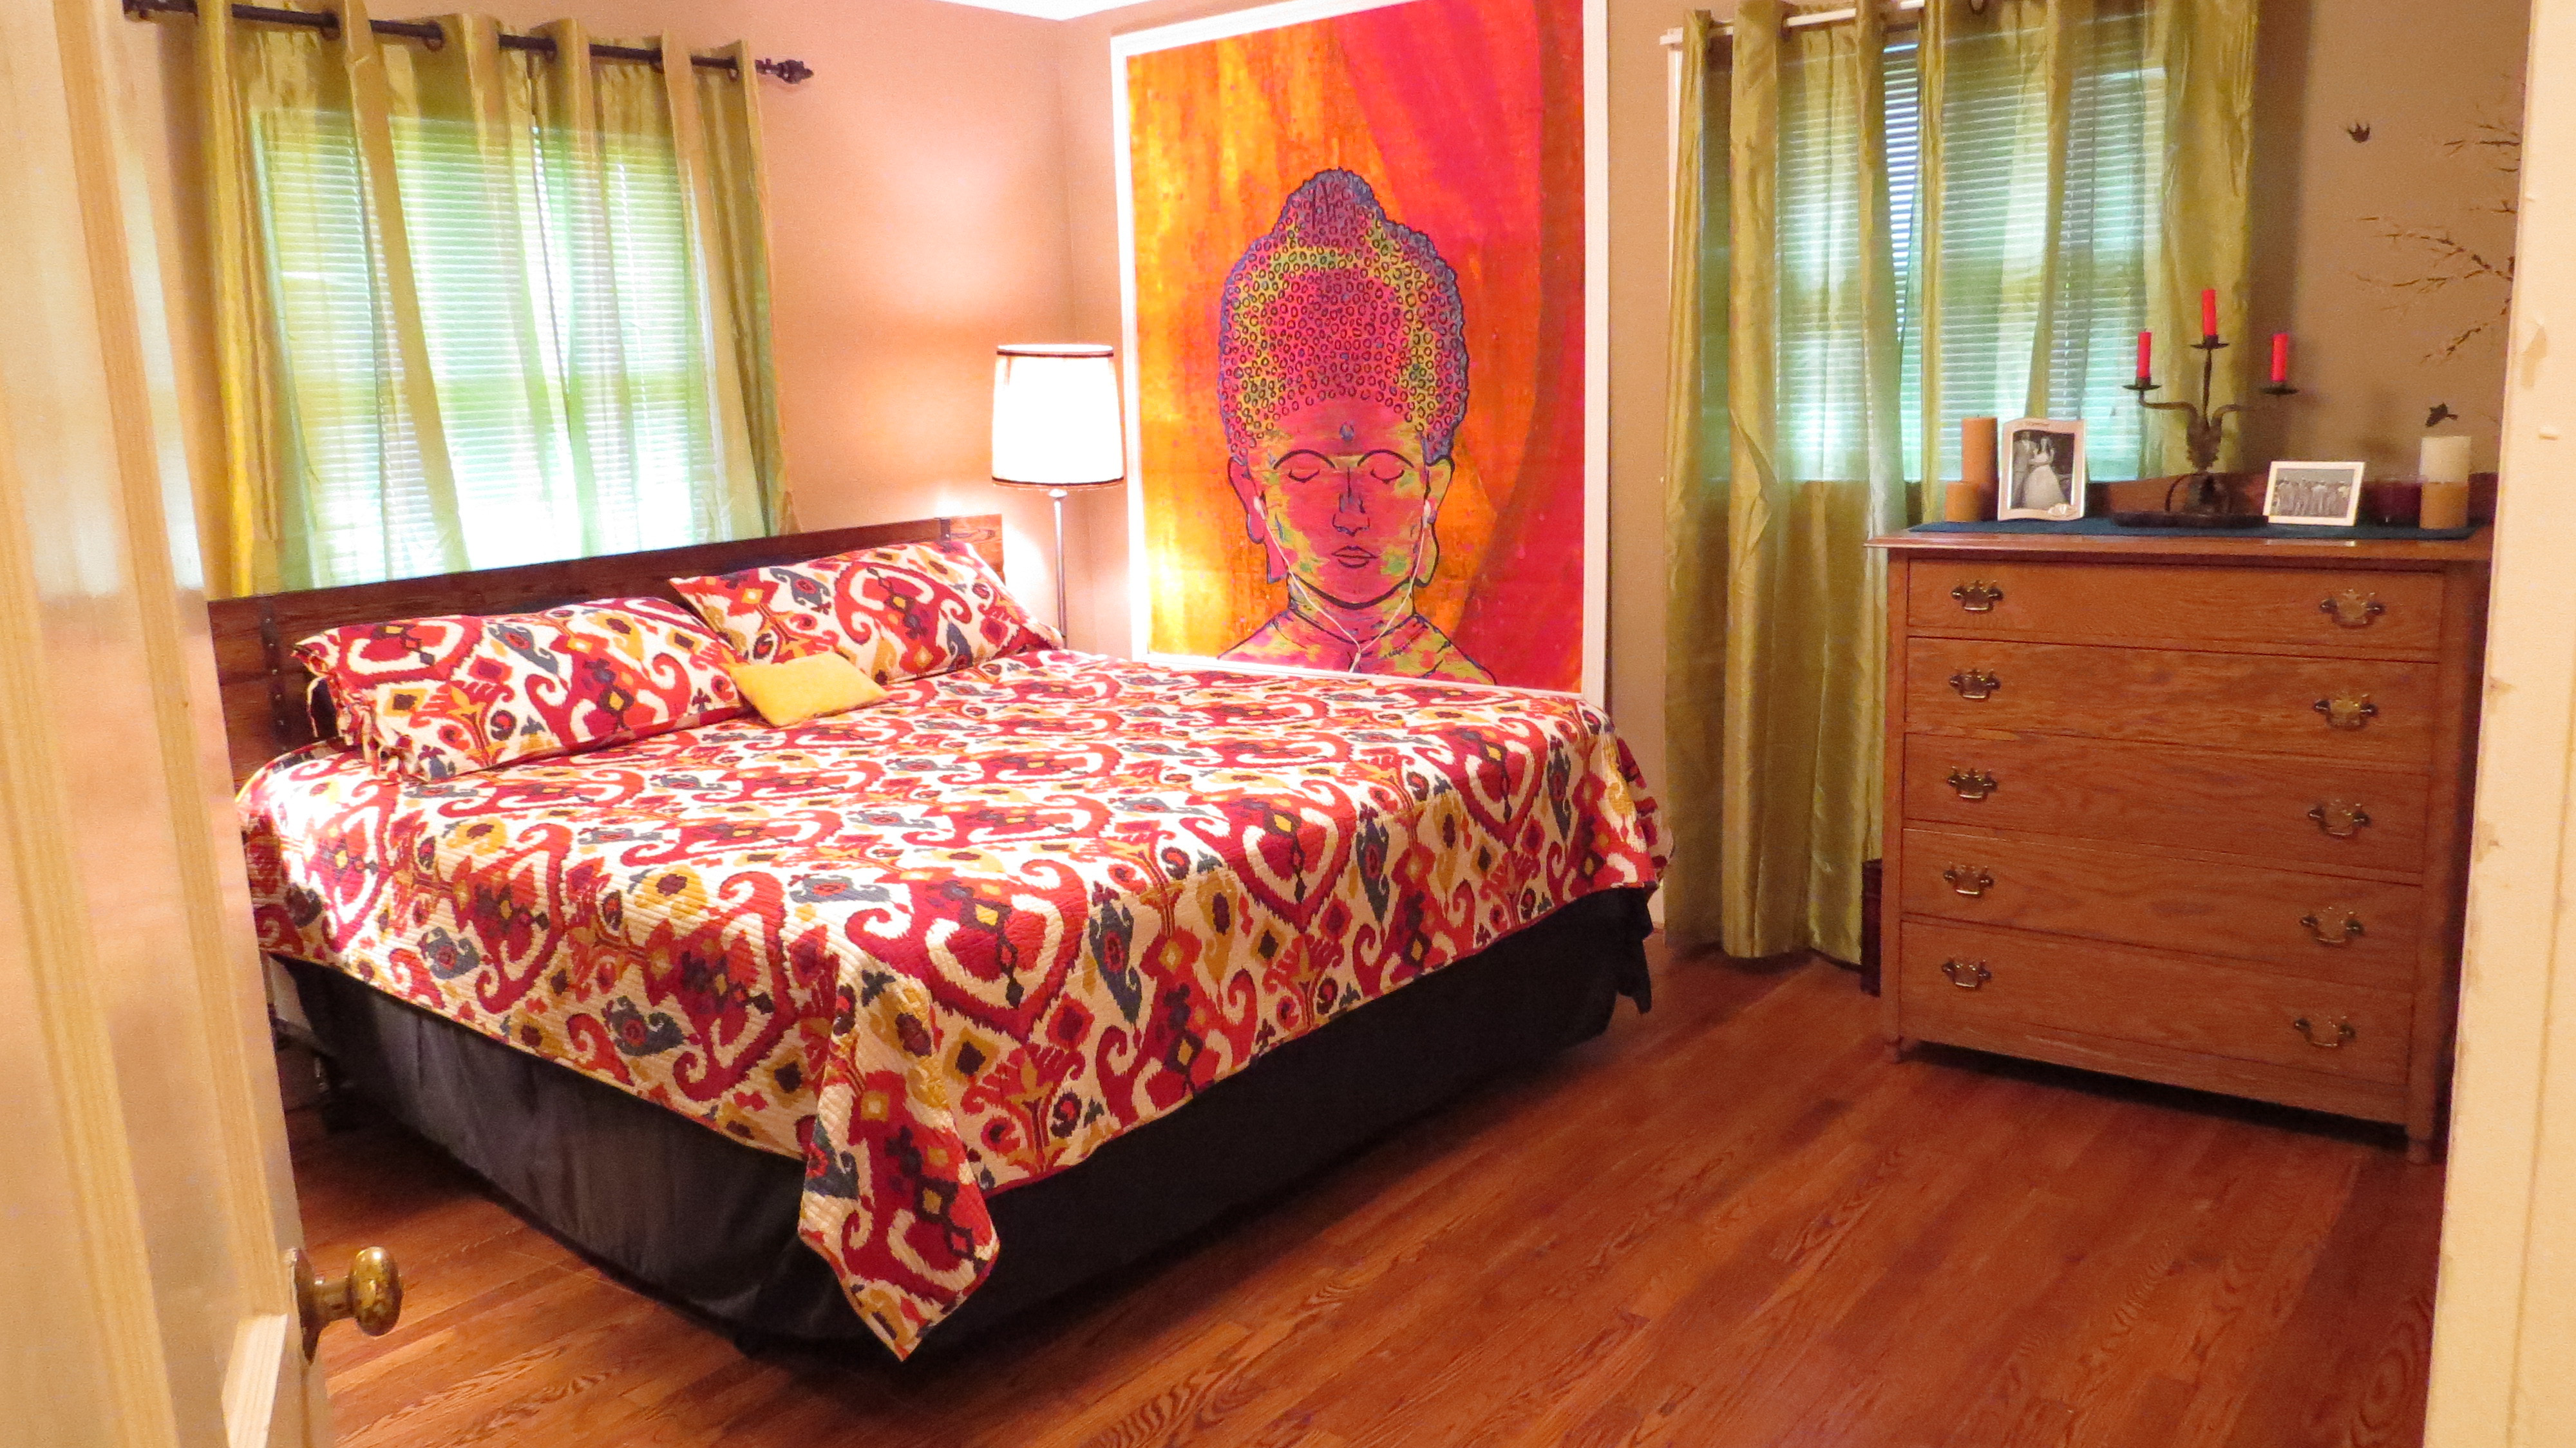
I think the feng shui is much better now with the bed against the far wall and longer (not grey) curtains. I also think this bedspread is more my style and a lot more fun. Anyways, I made the headboard from a piece of butcher-block. I made the painting of the Buddha Buds, and I sourced the curtains and bedspread from the interwebs. I made the lamps from burlap left over from my wedding, and behind the door is a wardrobe I’m refinishing now.

IMG_6873
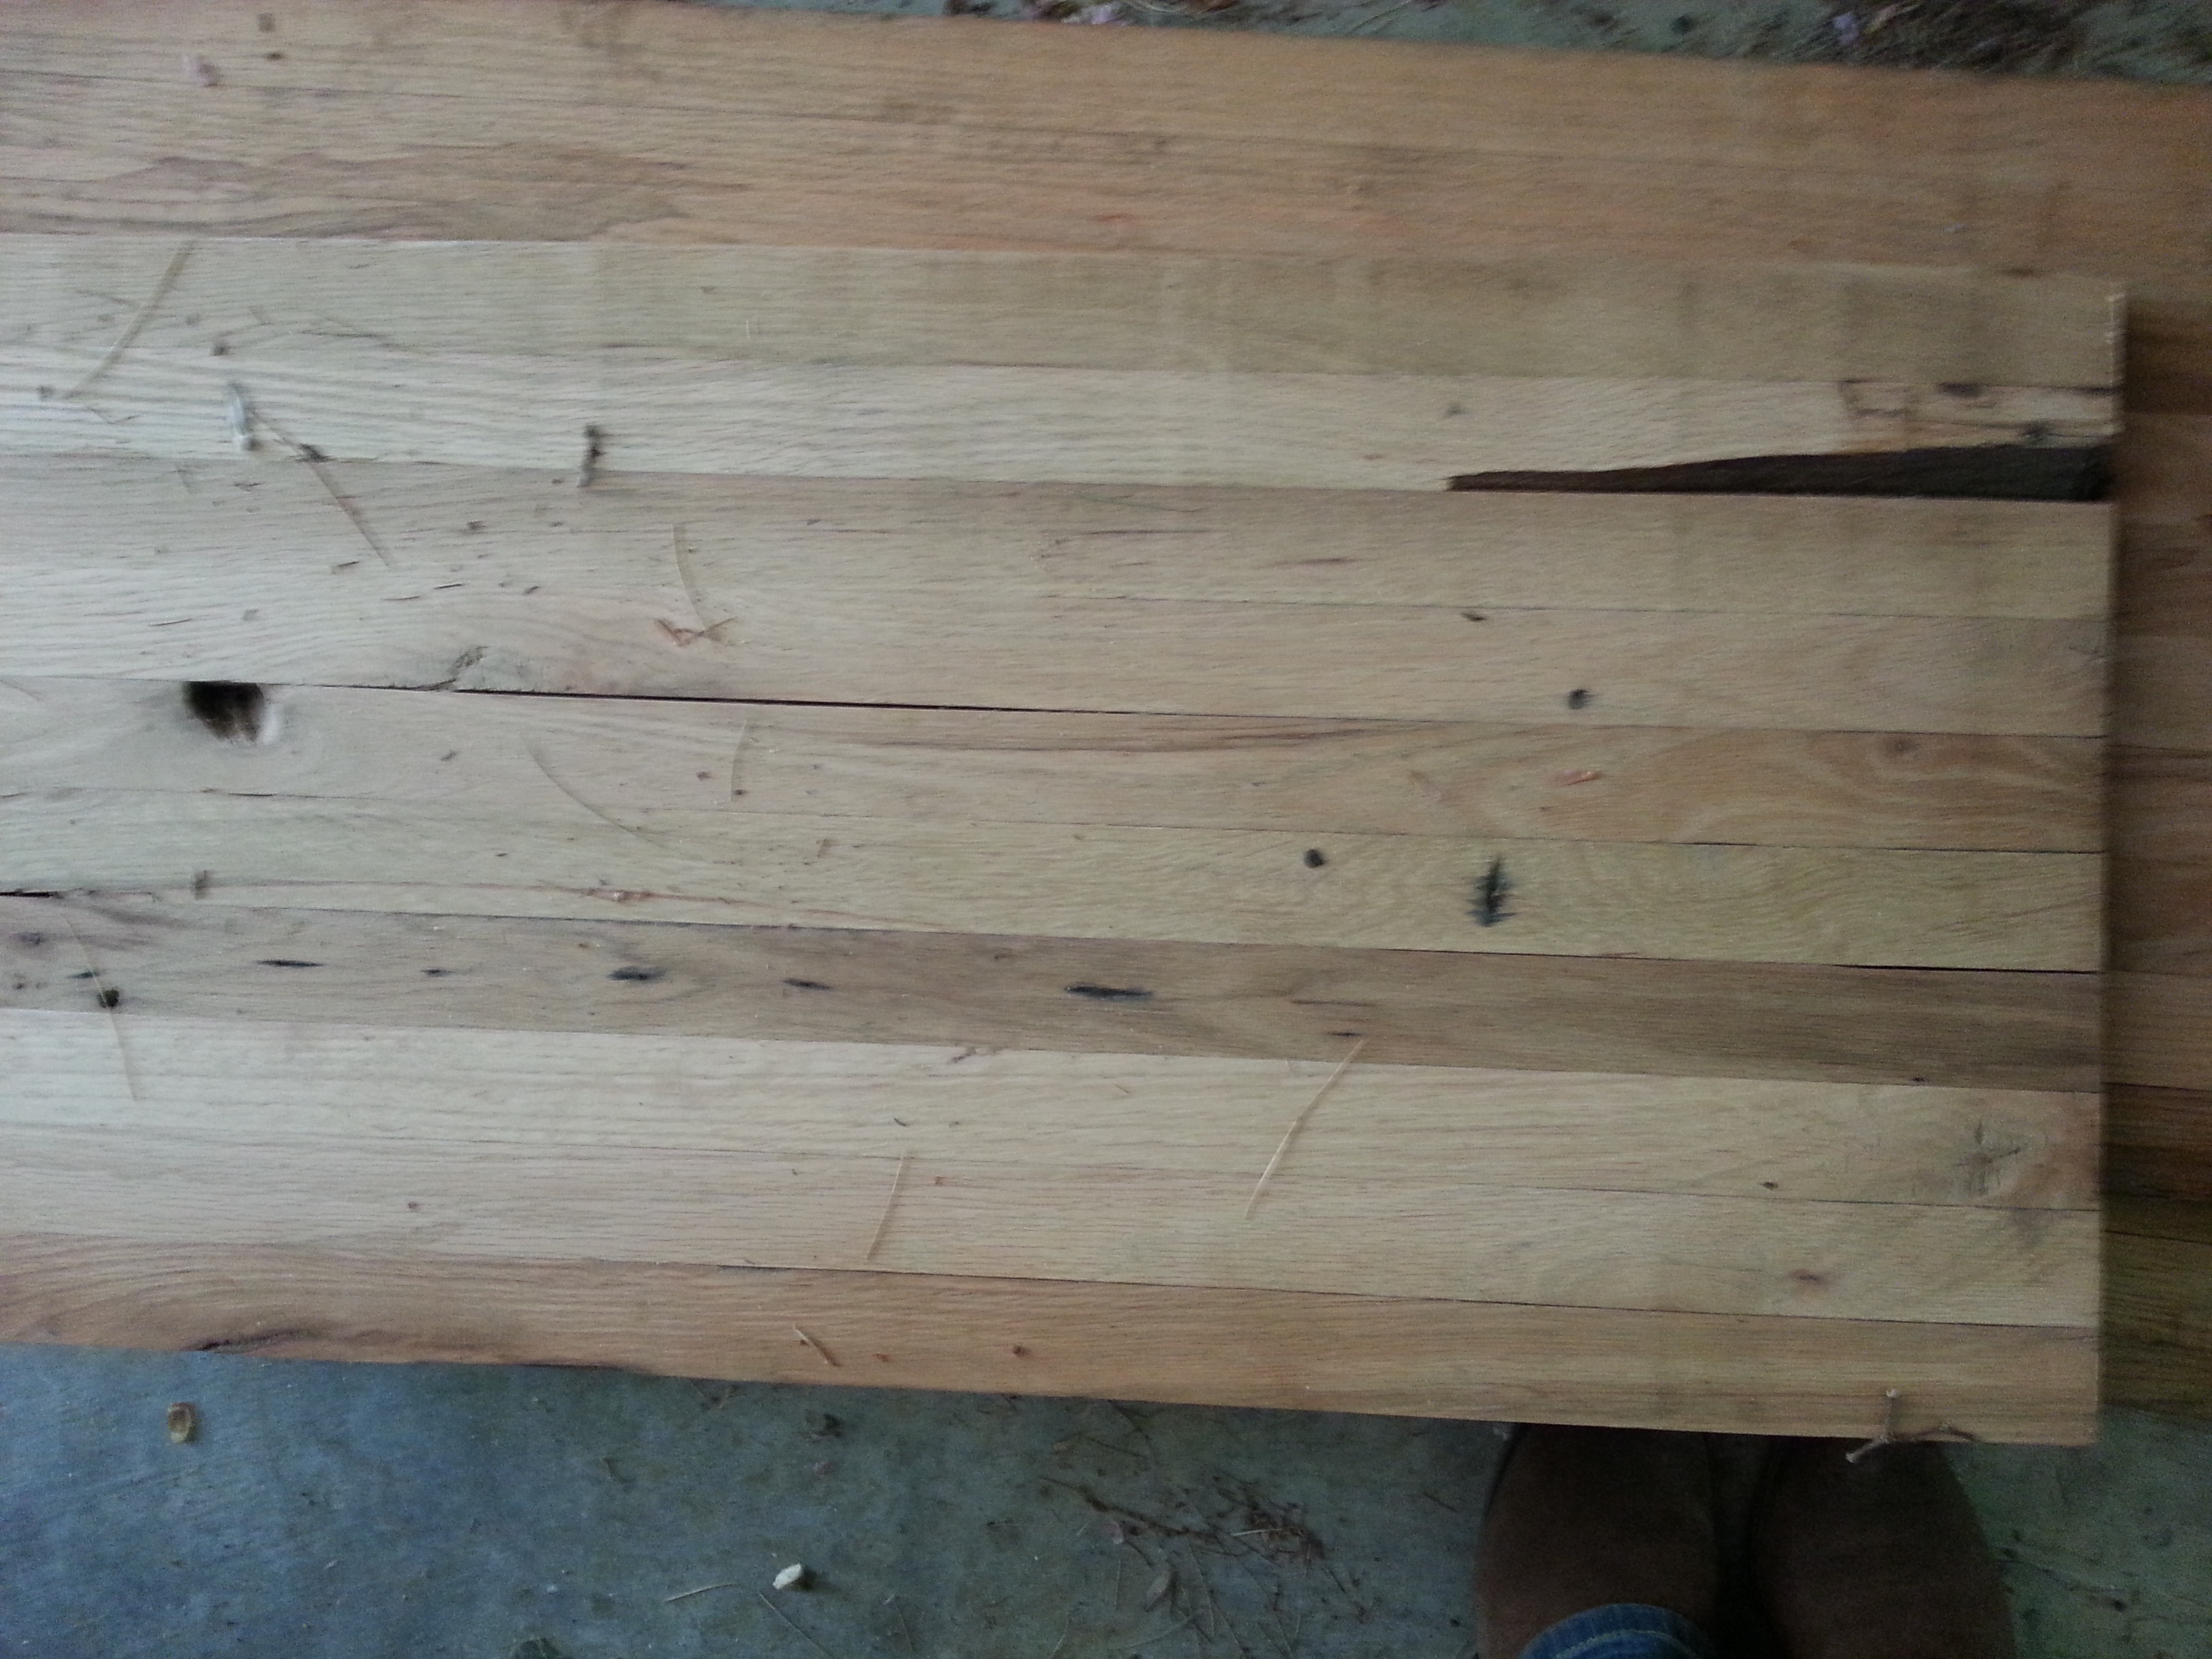
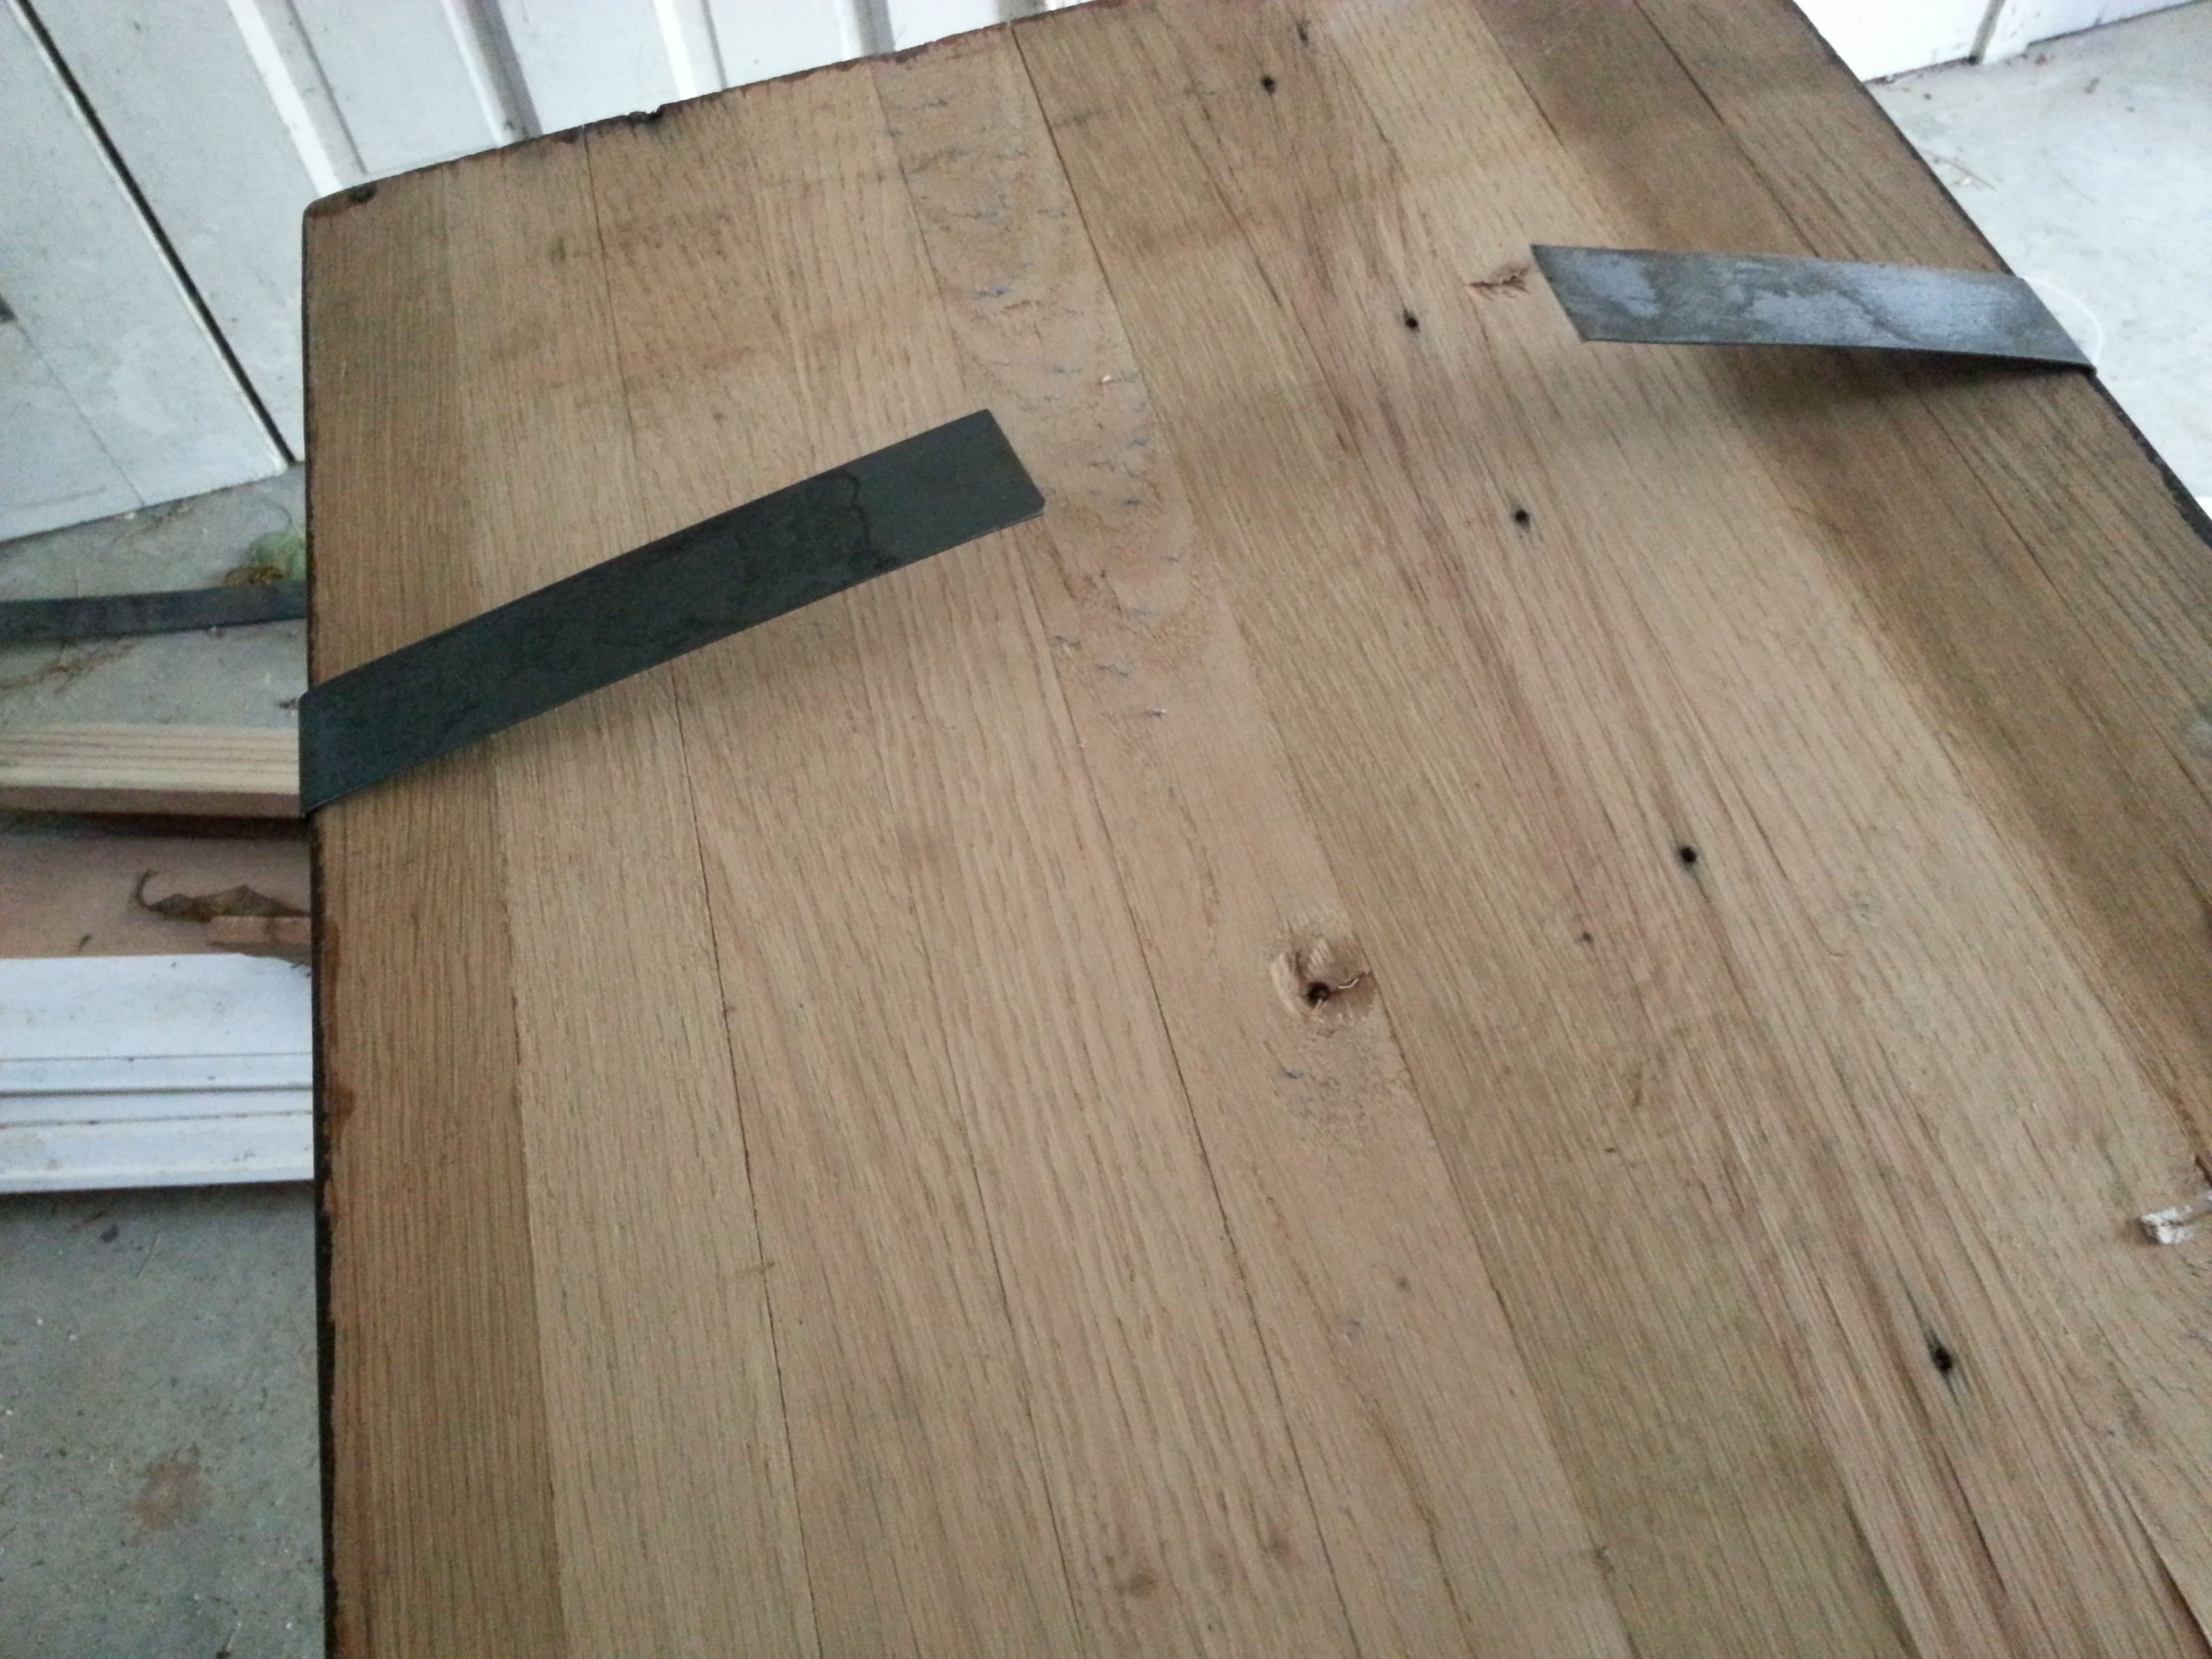
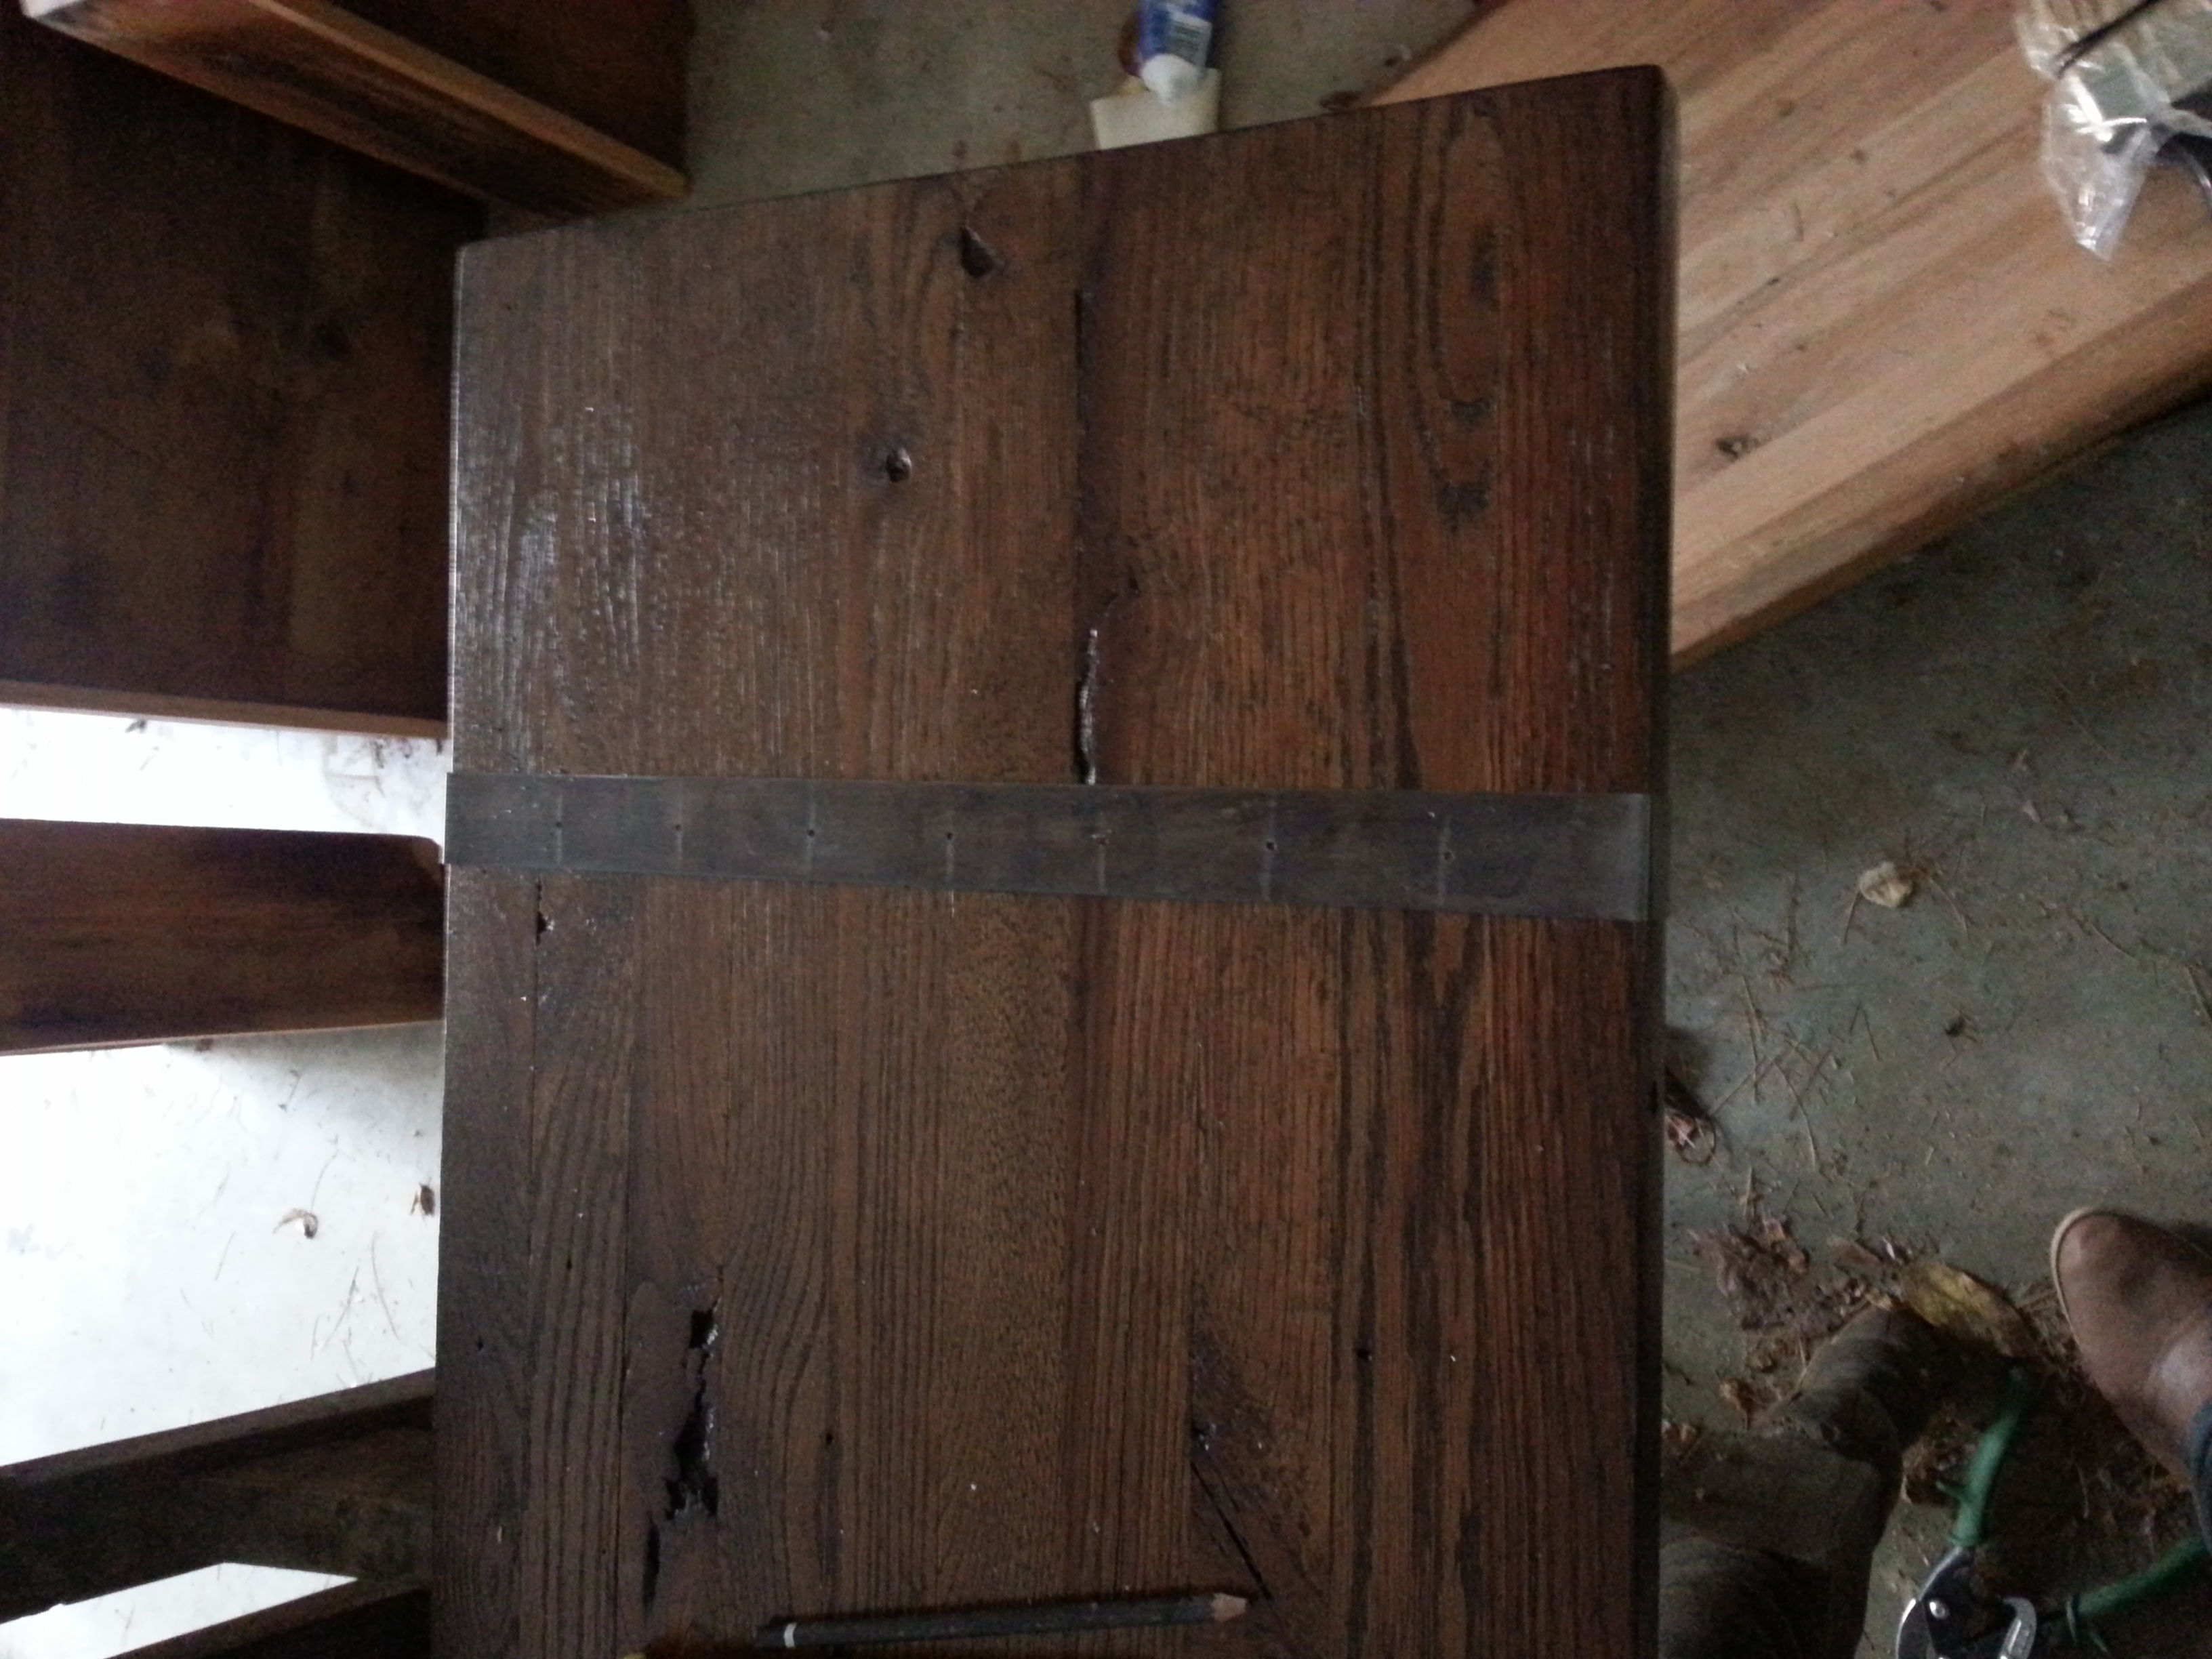
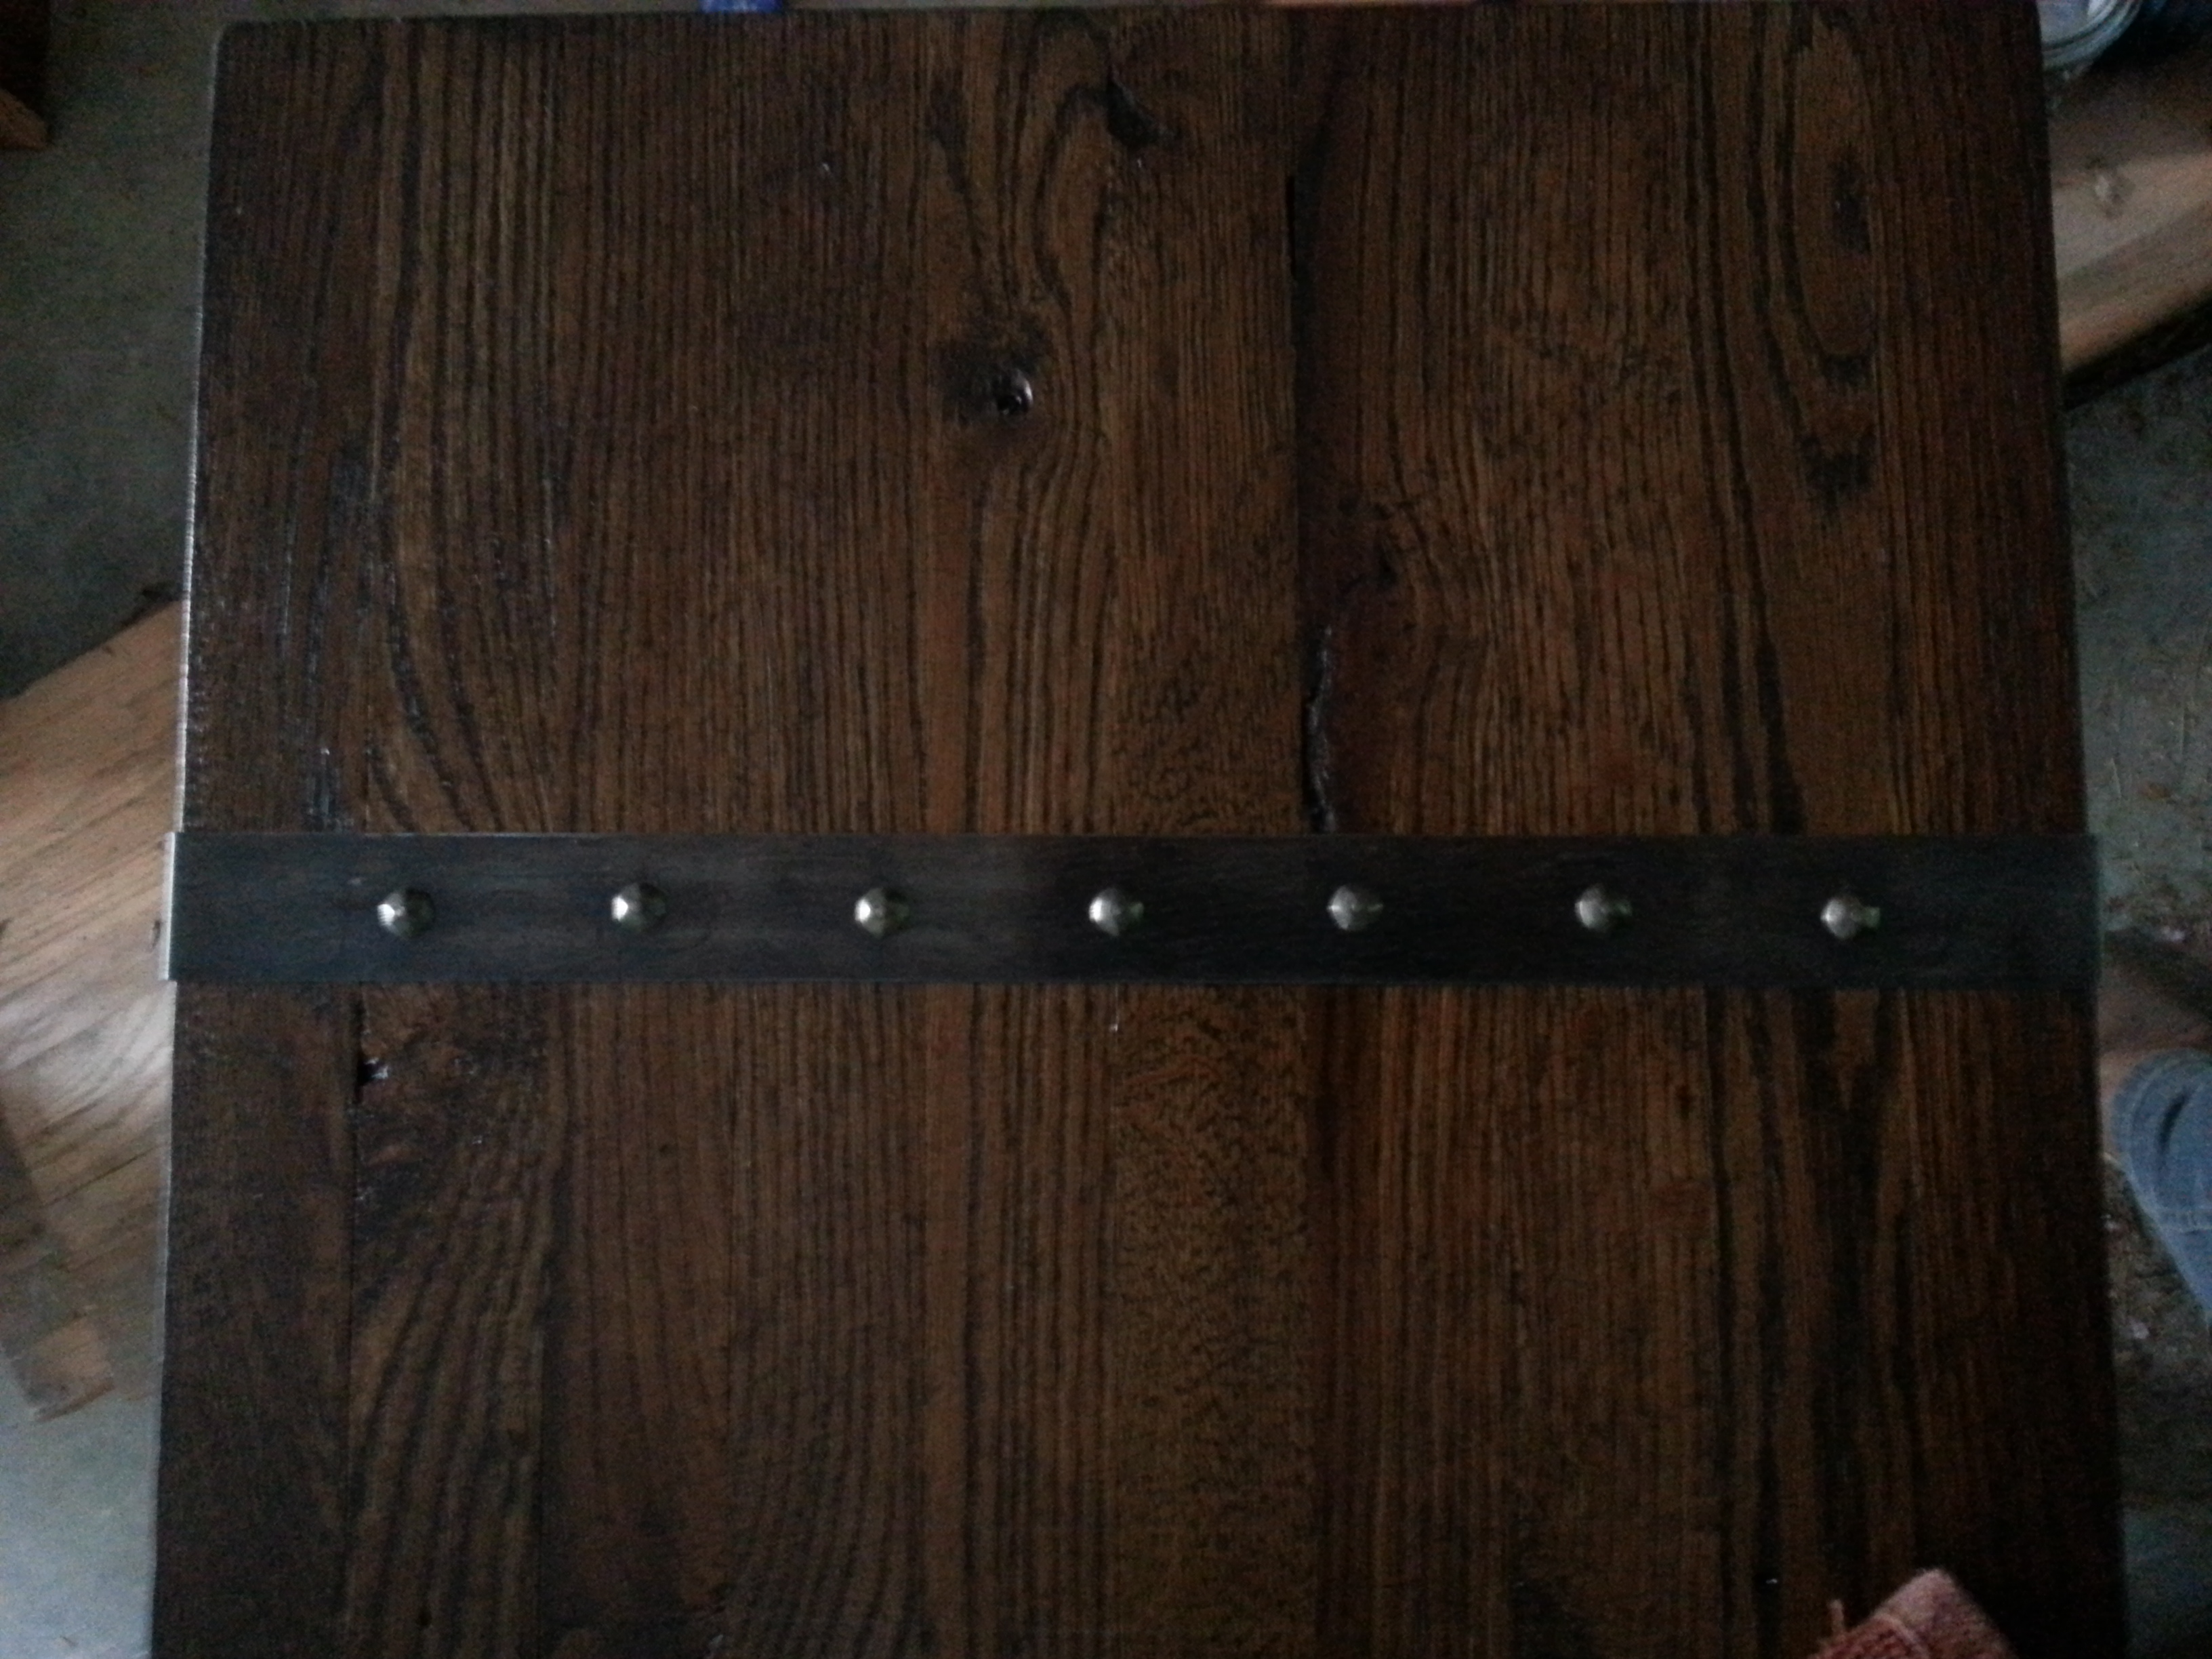
Here (above) is a close up of the headboard in the event you are too lazy to click on the link above. It was my first foray into metalwork.

Below is a picture of the lamp, again, for the lazies out there. I simply cut out burlap to fit OVER the old shade, then I used a stencil to cut designs in the old shade under the burlap so when it is on, designs are projected onto the walls. Yup, it’s pretty neat.Screen Shot 2014-05-16 at 12.54.35 PM

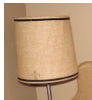
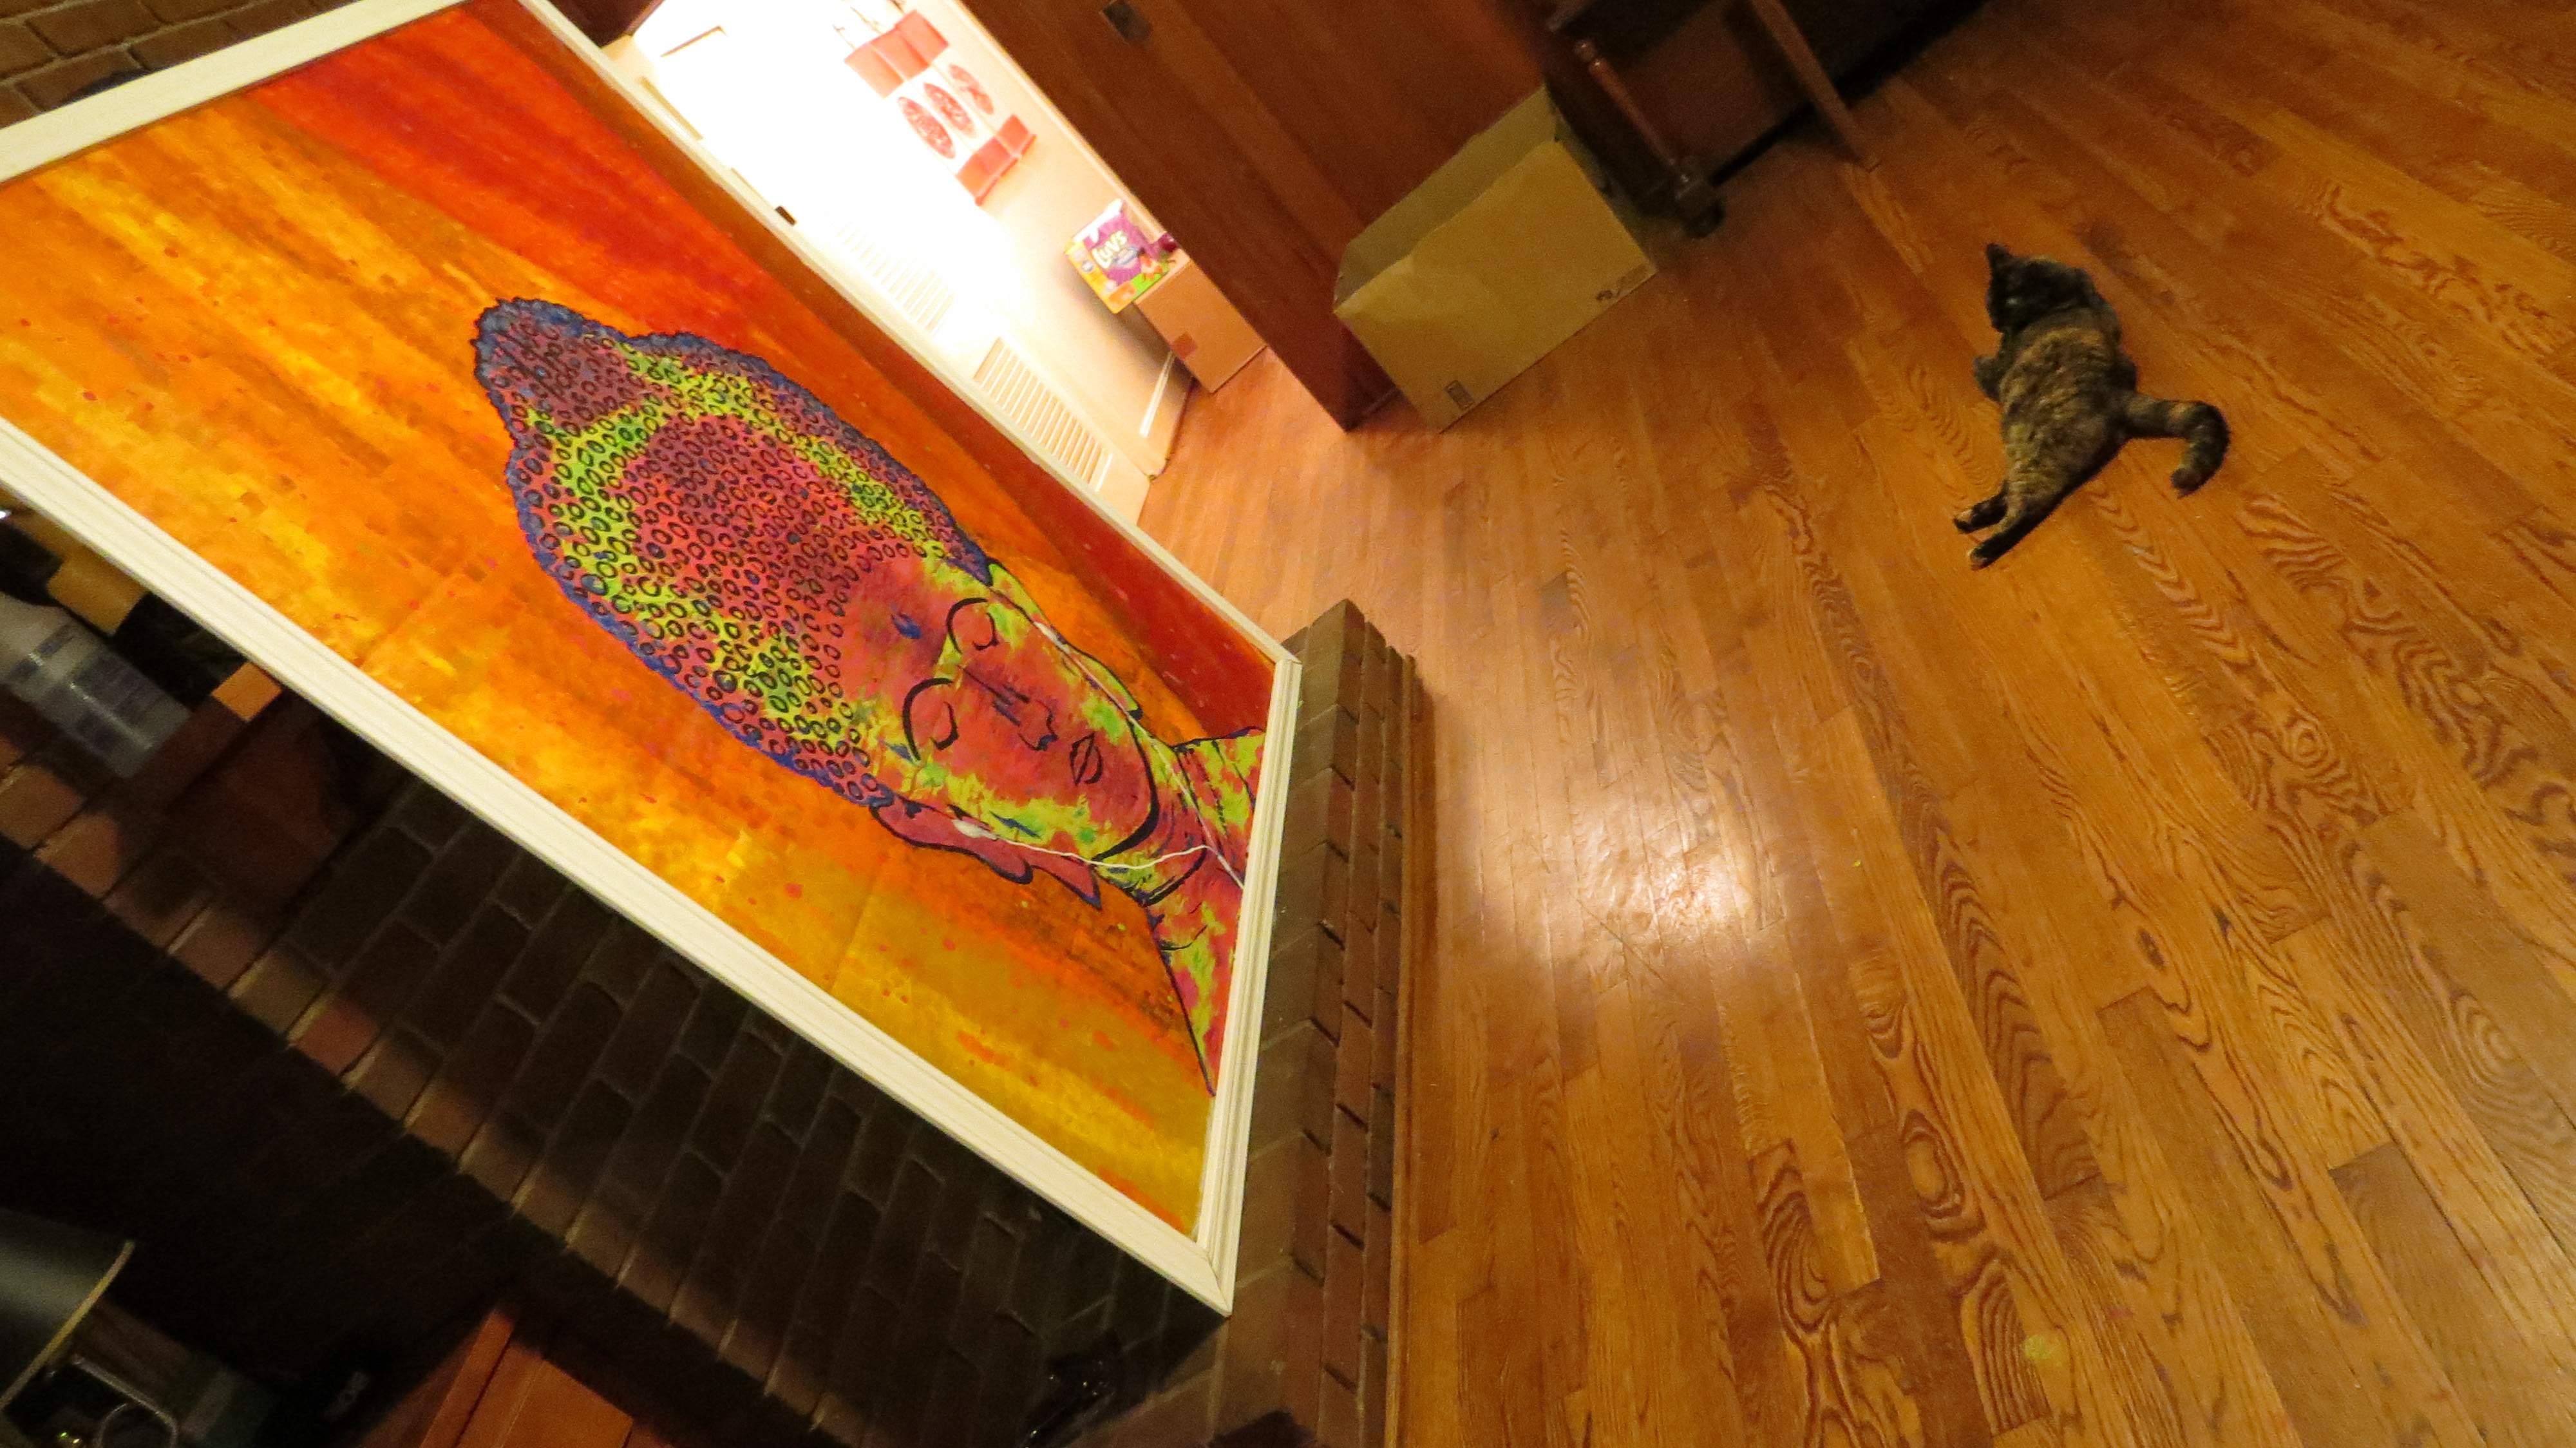
And below is a picture of my cat admiring the Buddha while the frame dries.

IMG_6856

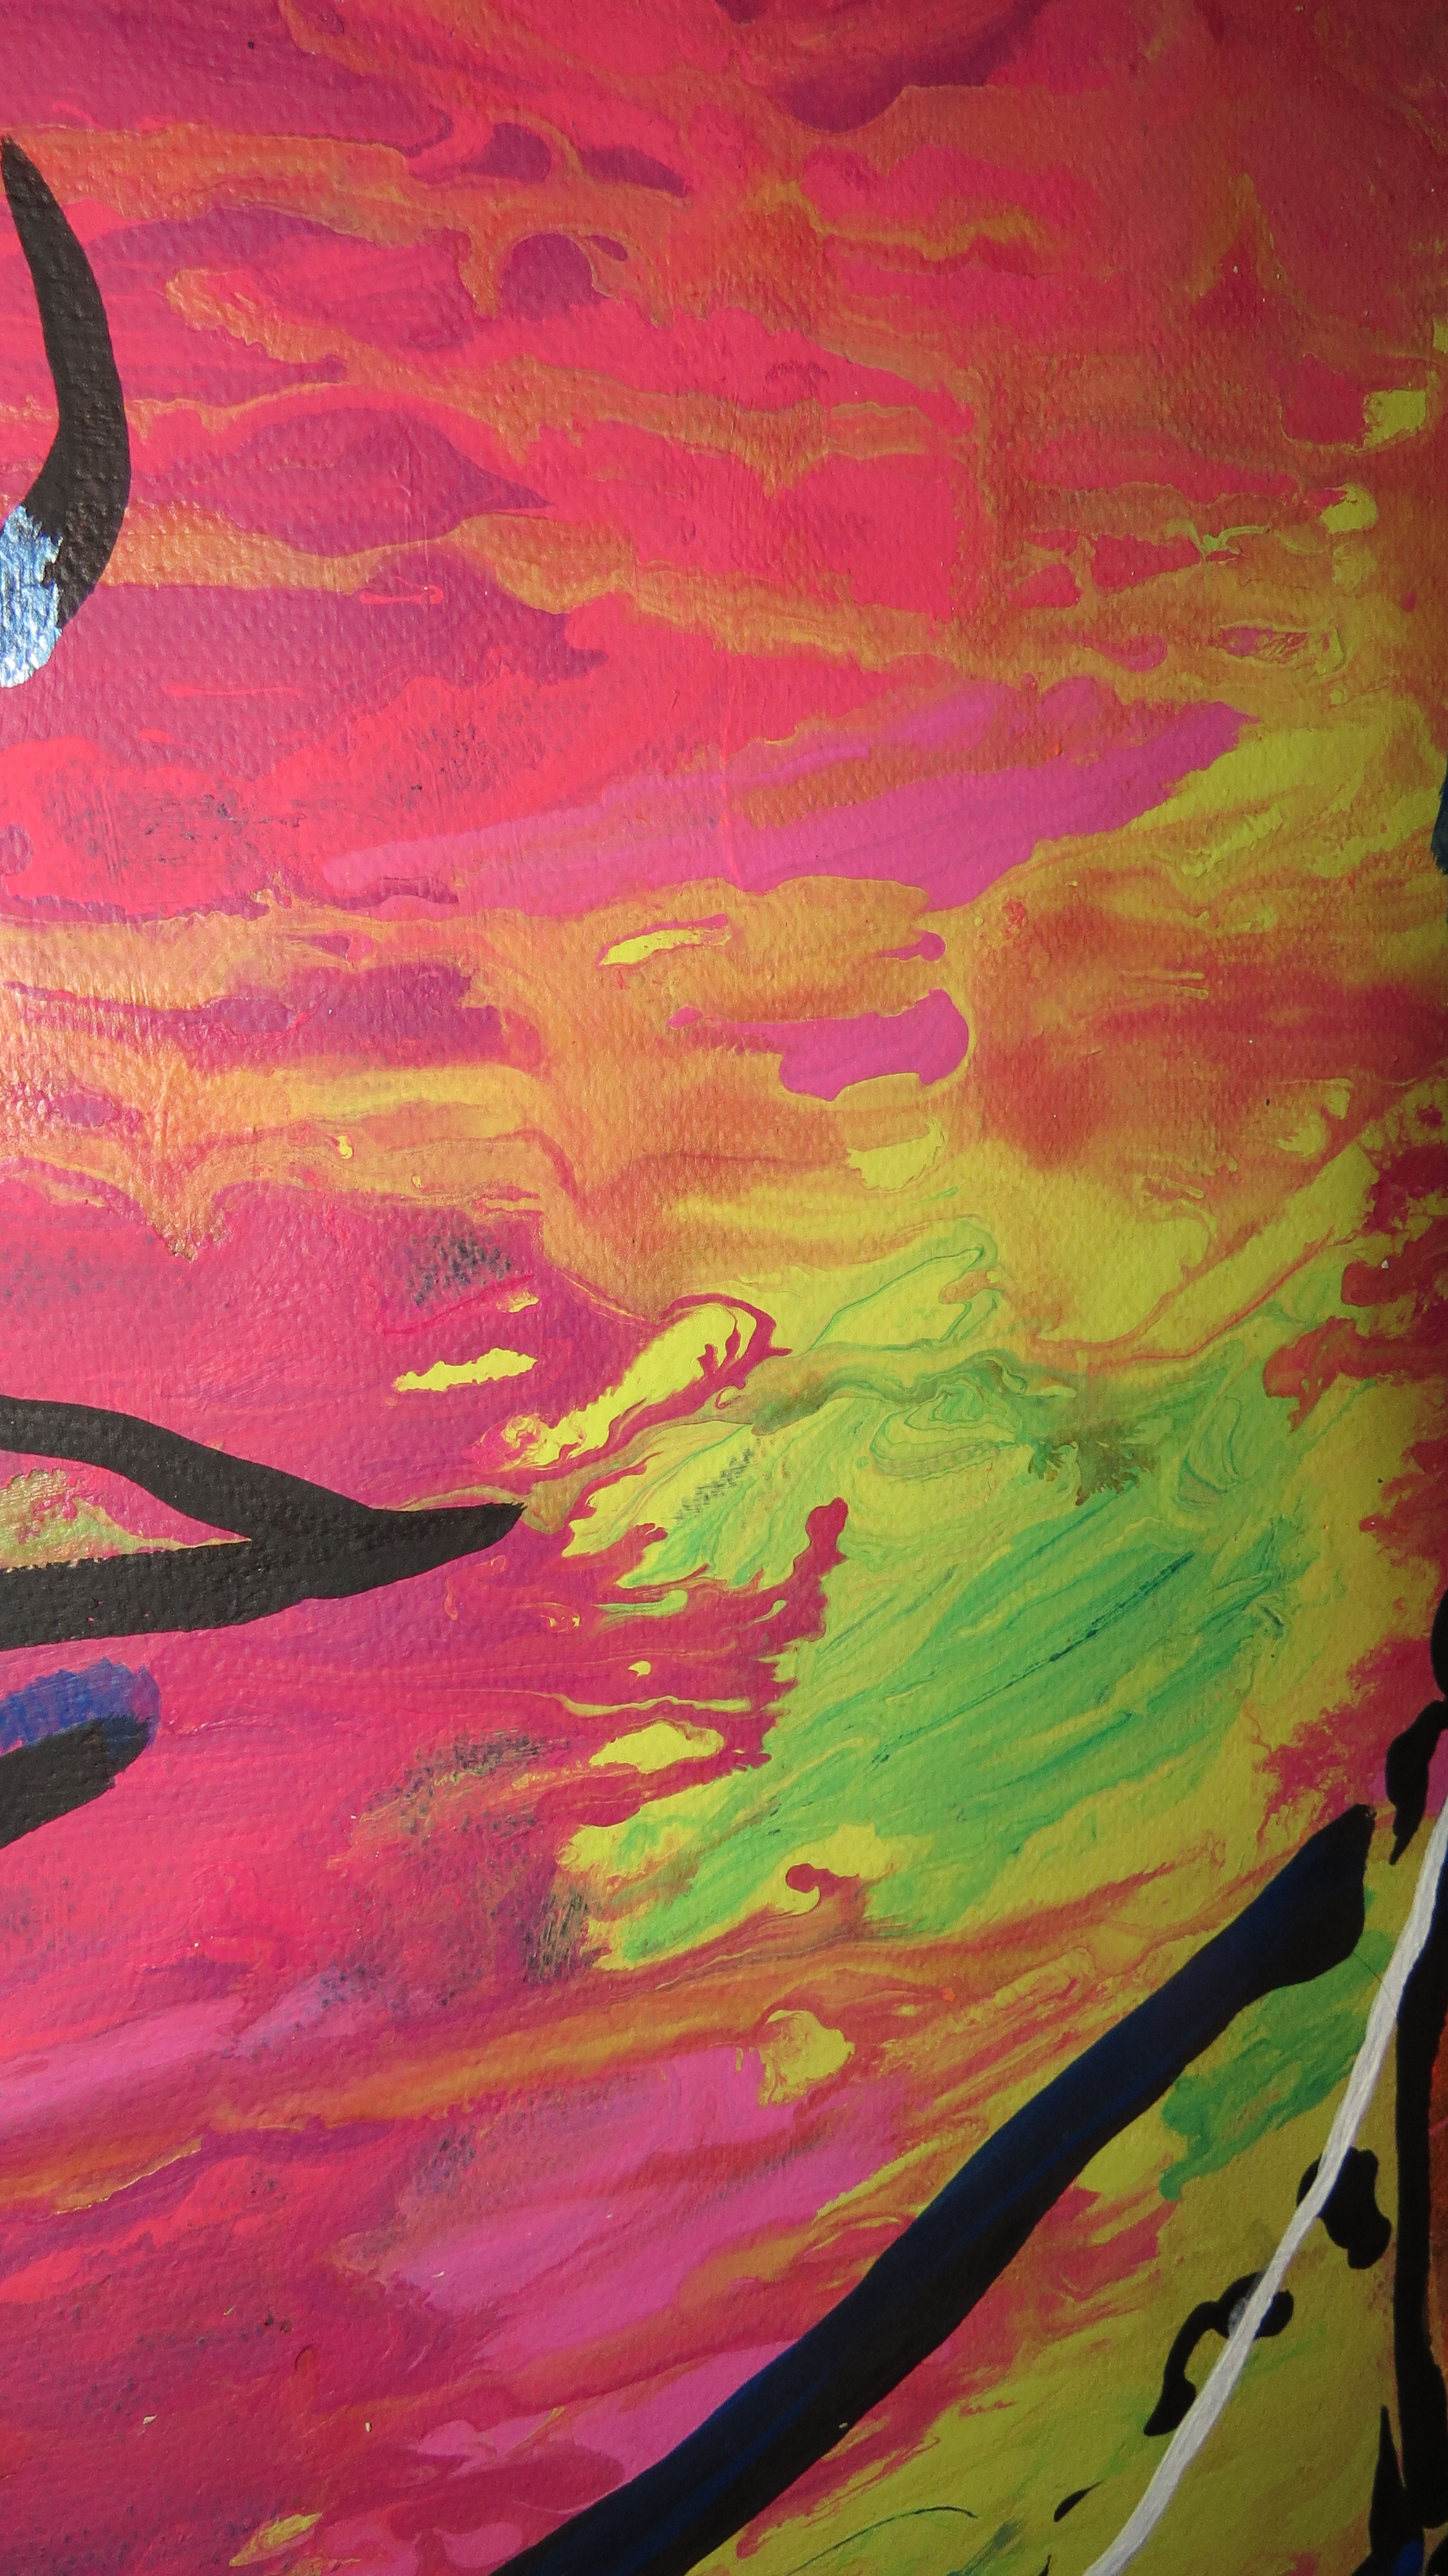
This (below) is a close up of the Buddha face. I poured a ton of paint on the canvas then tried to move it around using speakers. Since the art is about music and tranquility, I thought this would be a neat way to make the music come to life. It worked in some places, and added a cool story to the image. Wherever you see the neon green and magenta swirling, that was music leaving a permanent impression.

IMG_6859

Finally below is a picture of the wardrobe I’m working on. This is a before photo, I haven’t done anything to it yet. We’ll see what happens to the poor sucker. But, in the background you can see the other burlap lamp I made, and a Picaso replica I painted a few years ago. So, this room is almost entirely made by me. Makes me happy. I do plan on stenciling the curtains at some point with the same peacock blue you kinda see in the foreground of the image below. Maybe just a suzani line across the bottom or sides. Still debating on that one.

IMG_6871

You can find this buddha painting for sale on Etsy at Fernweh Originals or visit my Facebook Page, Fernweh Originals.

DIY Headboard from Butcher Block

To continue the theme of upcycling and creating, here is my tutorial (aka, my creation journal, for the granola crunchers out there) on how I made a headboard out of a piece of wood I bought for $9 at the ReStore.

First off, if you live under a rock and don’t know what the ReStore is, it’s the Habitat for Humanity store that sells stuff like furniture, random doors, chunks of wood, knobs, etc. Stuff you need to make a house or stock a house. And it’s awesome. The Winston Salem ReStore is pretty rad, and just moved to a new facility off University Parkway.

Screen Shot 2014-05-04 at 10.02.49 AM

Okay, moving on. Here is a picture of the piece of wood pre-evolutionary metamorphosis at the hands of yours truly. It was dirty, messy, had some water damage, etc. I bought four, 9-foot by 16 inch wide boards from the ReStore and sanded them down. I selected the nicest for this project, and eventually plan to make a footboard and side rails out of the rest of this wood.

20140503_143147

Here is a picture after I cut it to 7 feet, sanded down the imperfections and sides, and stained it with a lovely, sultry dark stain. I used Miniwax because I like that they don’t have polyurethane in the stain. Makes it go on smooth and silky, like butter, and wipe off easily for second and third coats. This stain color is called ________. I put on two coats because I was really happy with how this stain was bringing out such beautiful grain and more seemed to enhance the awesomeness.

20140503_143153

Next I waited a few dozen hours and applied my first coat of Miniwax interior polyurethane. Normally I’d be against this move but I recently refinished a table and this brand of poly isn’t as shiny and obnoxious and color-changing as others. No, Miniwax isn’t paying me to say this (though if any Miniwax executives are reading this– know that I wouldn’t turn down free cash! ha ha).

For some reason between coats of poly you are meant to sand it down with 220 sandpaper and then reapply. No idea why, but like many a non-chemist I just so what chemical bottles demand. So, I sanded it down lightly and reapplied….. about four times. The last application I used a foam brush to decrease the chances that there would be any texture from the brush bristles. Yes, it’s gotten this pedantic.

Finally, I got to what I consider the fun part! This is where I took some metal packing strips and then screwed them to the back of the headboard (see image below) and then nailed them down with some textured upholstery nails on the front. I’m going for an old world industrial look here. Call me a nerd, but I feel like looks that don’t really go well together actually go well together, like how opposites attract. So, we have metal and nails from the industrial, processed, warehouse style fused with a rugged, rough chunk of wood stained to Middle Earth proportions. Clearly, I don’t know any interior decorating verbiage. Work with me here.

20140506_191037

Anyways, this last step was super time consuming and required math. This may be the first time since high school that I had to do real math. Guess my teacher was right, at some point you’d need it and be glad you knew it. Although when I was in school we didn’t have the internet so…. I guess he didn’t know you could always BS your way through anything using this handy tool. Below you’ll see how I spaced out the lines for the upholstery nails.

20140506_190254

Here is a pictures of the final product (just the headboard design). I did this detail work on both sides, about 7 inches in from both sides. Looks bad ass.

20140506_190446If I do decide to go back and make a foot board you’ll be the first to know. I already bought adorable little legs to be the support structure for the foot board and found a 12 foot cedar board for the side rails, so we’ll see if they join my pile of legs, wheels and arms (all wooden, I assure you) growing in the wood shop or actually get adhered to this project. Time will tell.

To date, the total cost for this project is $32 for the wood. $14 for stain, and poly. $2 for upholstery nails= $48

Screen Shot 2014-05-10 at 7.44.07 PM

IMG_6865 IMG_6873

This headboard has been SOLD. See my other items on Etsy at Fernweh Originals or visit my Facebook Page, Fernweh Originals.

DIY Burlap Headboard and Lamps

When one Abandons the Cube one has little money. Still, with a bit of creativity you can do wonders. I was reading a few blogs and came across a lovely idea to make a headboard out of cardboard. Stop! Don’t click away, it’s true! You can do it and not have it look like a piece of trash. This blog post, in particular, had a lot of neat ideas. I went a different route ultimately, but this was a nice bit of incentive. Thanks Michelle!

I started out by cutting the shape I wanted out of a giant piece of cardboard. We had recently purchased a crib for our infant and the box was perfect and in good condition. I used a basket to draw the rounded parts on the cardboard and then used the old adage of measuring twice and cutting once. This headboard is seven feet across and four feet high in the center. The two winged edged are three feet high.

IMG_4245

After cutting out the shape I wanted, I used all the Styrofoam padding the crib had been wrapped in. I laid out the large sheets and then cut them to fit the cardboard shape. I used packing tape to secure them to the cardboard. I used a knife to cute the shapes to the exact dimensions of the cardboard. Much easier than scissors. After this, I used the foam wrapping that came with the crib to wrap around my frame to give it more shape and erase some uneven edges. I taped this all in place.

IMG_4248

At this point, I had fully intended to make the headboard come all the way to the bottom of the piece I had cut out. But, I ran out of Styrofoam and foam wrap so I cut a clean line along the bottom.

I got married recently and had a burlap and lace vineyard wedding. I still had strips of 7 foot long burlap from the table runners so I grabbed these and decided to do a woven pattern of burlap across the padding. I thought this would be a nice, neutral color for our bedroom. Weaving isn’t easy, but the strips were not clean cut and I didn’t think trying to line them up would look nice so it was the only real option. Plus, I already had it on hand and it was free.

So, I took the strips and put them atop the frame and kind of wove them together. Once I had created a mat I used hot glue to tack the bottom and left side to the frame. When it was set I went to the right side and pulled the strips tight, tacking them down.

IMG_4249

The hardest part was the uneven top. This would require a lot of pulling and tacking, waiting and pulling some more. Once I got the top secured I thought the weave looked pretty nice. It still needed some embellishments. I stenciled on a few black shapes.

IMG_4302 IMG_4303 IMG_4304

On a side note, a few days ago I made a burlap lamp shade and then a burlap lamp base out of more of the leftover burlap from the wedding. To make the larger lamp shade I took the old one and used a stencil to cut flour de lune shapes using an exacto-knife out of the crusty lampshade fabric. Then I pulled burlap tight over the whole frame and used hot glue to tack it into place, pulling as I went around the edges. I trimmed it with velvet ribbon. When the light is on, the shapes appear and add a nice elegant touch. I used hammered spray paint to cover the once gold stand and kind of update it. You can see the lamp on the left in the image above.

To make the smaller lamp stand (see the images above, lamp on the right) I found a frame at Goodwill and used hot glue to tack the burlap in place. I used the same velvet black ribbon to bunch in the center, giving it an elegant look. I had the old lampshade in the attic already.

These lamps were put in the bedroom to kind of pull it all together into a burlap room. Too much? Not enough? If the walls were a different color I think it would look nicer. Also, the wall isn’t big enough to support the headboard (doh!) so the whole setup is off to one side.

At any rate I didn’t spend much to make this stuff. We had the old lamp and burlap on hand, all the cardboard and padding were here, the tape was already here. The only thing I purchased was the hammered spray paint, the smaller lamp frame and the exacto-knife. I simply scrounged around with a bit of creativity and pulled it into a headboard and two lamps—and a whole new bedroom look. Thoughts? If it sucks, be honest!